This guide goes through how to connect to a WiFi network on the recorder.
Note: This is ideal if you have already setup your recorder via the software for wireless download or email and just want to quickly connect to another WiFi network. Alternatively you can follow the guide on configuring the DS9500 to use a WiFi network in the software.
The below image is what you will use to navigate the menu.
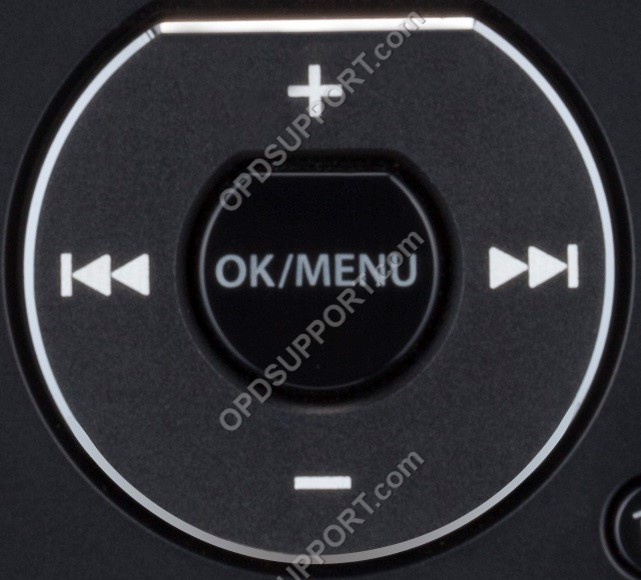
- Press “OK/Menu” to open the Menu.
- Press “–” to navigate to the Device Menu and press “OK/Menu”.
- Press “–” to scroll down to Wi-Fi and press “OK/Menu”.
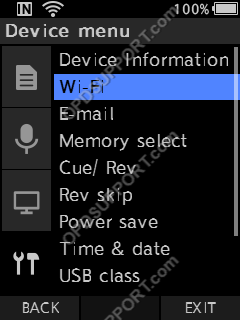
- Select On/ Off and press “OK/Menu”.
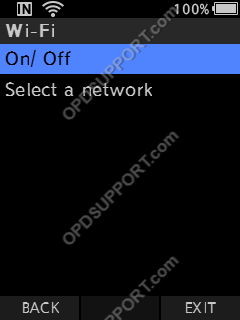
- Select On and press “OK/Menu”.
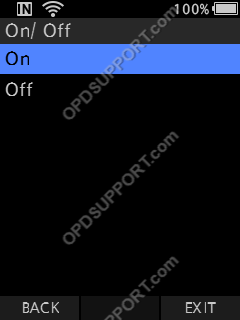
- Press “–” to scroll down to Select a network and press “OK/Menu”.

- Press “–” to scroll down to select your WiFi network and press OK/Menu button.
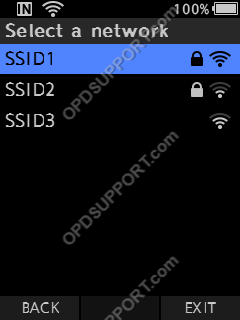
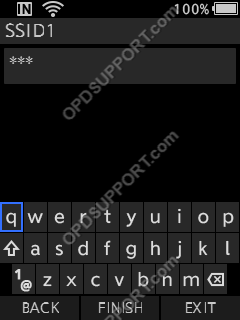
- Enter the password to connect to the WiFi and press F2 to finish.
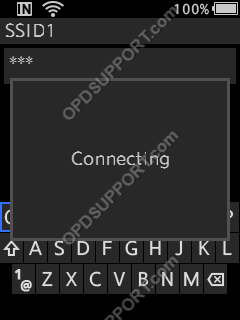
- It will display connecting on screen for a few seconds.
- When successful it will take you back to the WiFi menu and you should see a WiFi symbol appear on the top of the recorder when its connected. Otherwise you will see a connection error display on screen and there will be no WiFi symbol when it has failed.

