
To be able to use a Gmail email profile to send/receive dictations on ODMS R8/R7, it is necessary to make some extra setup on Gmail’s account settings. Gmail, as well as other email providers, have changed their security policies which removed the ability to use the “Allow less secure apps” option and now requires third-party applications to connect using the 2 Step verification process.
The following guide, explains the steps that are required to configure Gmail for 2 Step verification process to use with ODMS R8/R7 DM/TM program to send voice files and documents via email.
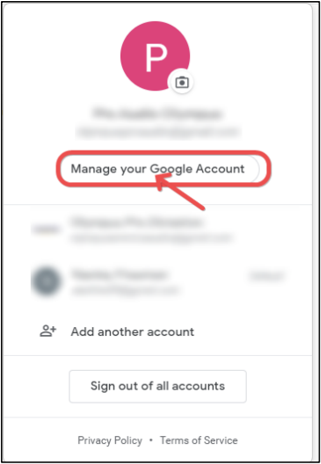
1) Open your Gmail account and select “Manage your Google Account“
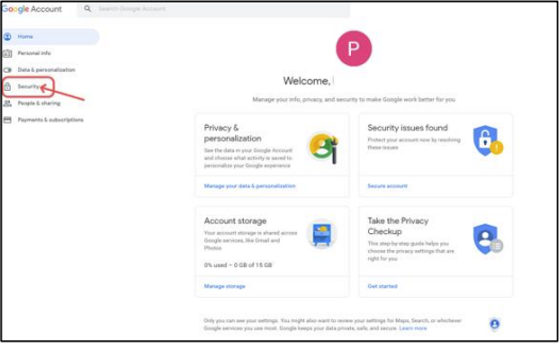
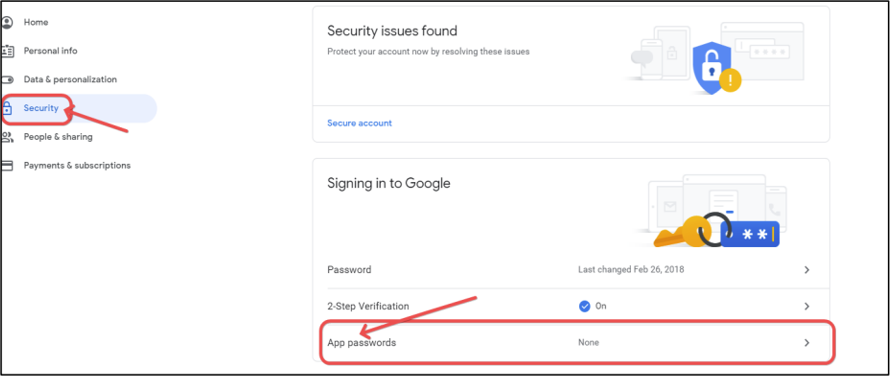
2) On the next page it opens, select “Security“
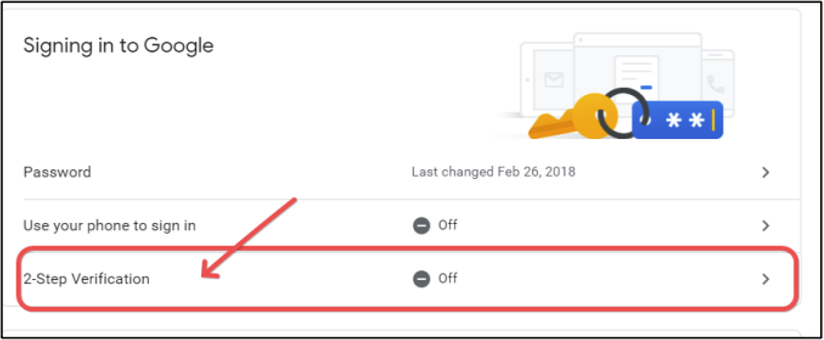
3) Next, select “2-Step Verification“
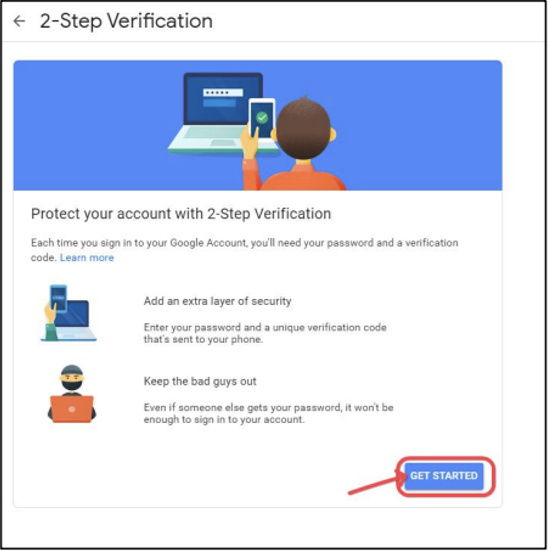
4) On the following page click the “Get Started” button
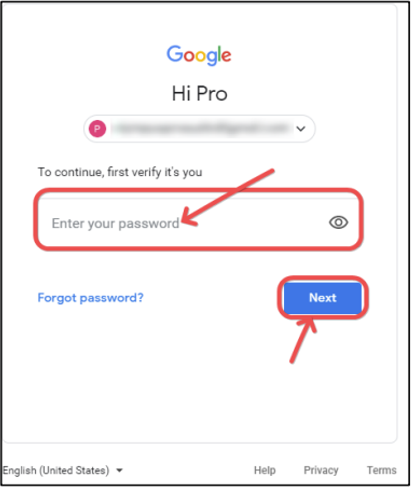
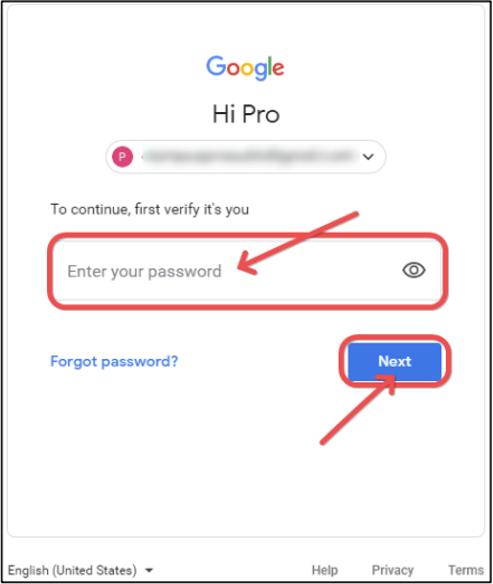
5) Input your Gmail password and click the “Next” button
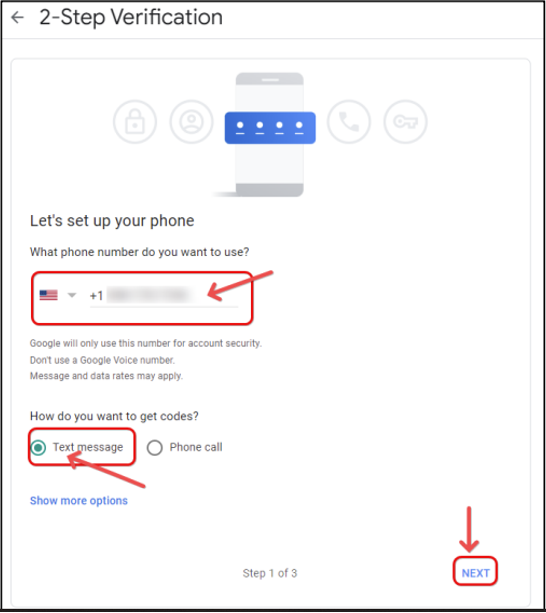
6) Unless already displayed, please input the cell phone number associated with your Gmail account. Ensure the “Text message” option is selected and click the “Next” button
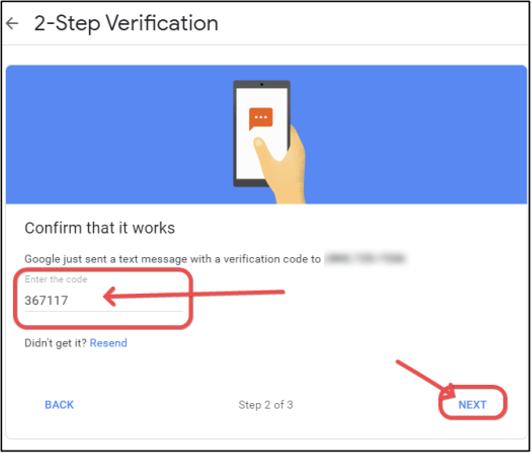
7) A verification code will be sent to your cell number. Enter the verification code and click the “Next” button
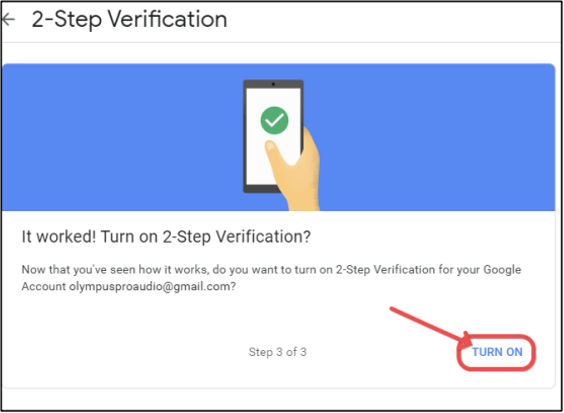
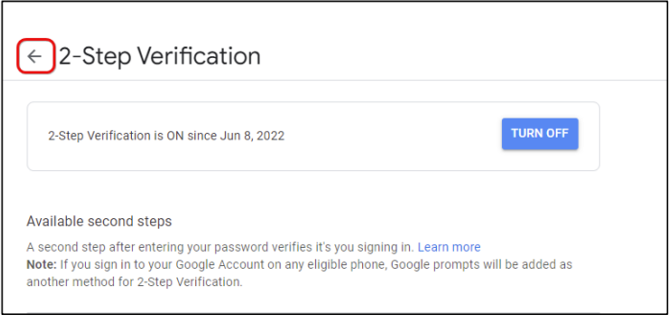
8) Turn on the 2-Step Verification by clicking “TURN ON” button
9) Click the arrow to the left of 2-Step Verification to return to your Gmail Security settings
10) Scroll down and select “App password“
11) Re-enter your Gmail password and click the “Next” button
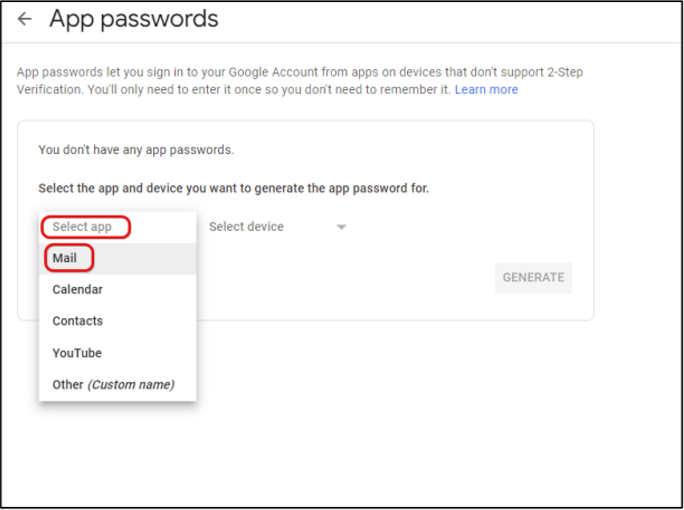
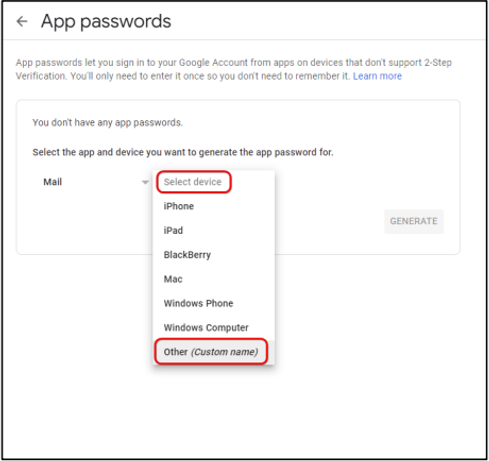
12) Click “Select App” then select “Mail“
13) Click “Select device” and choose “Other (Custom name)“
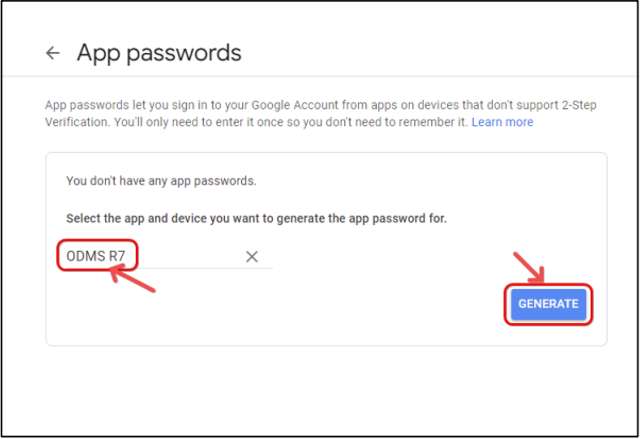
14) Type the name of the third-party program you’re creating the password for and click the “GENERATE” button
15) A password to use with the ODMS program will be generated. Copy this password to be entered in the ODMS software to use when configuring the email profile. Click the “DONE” button
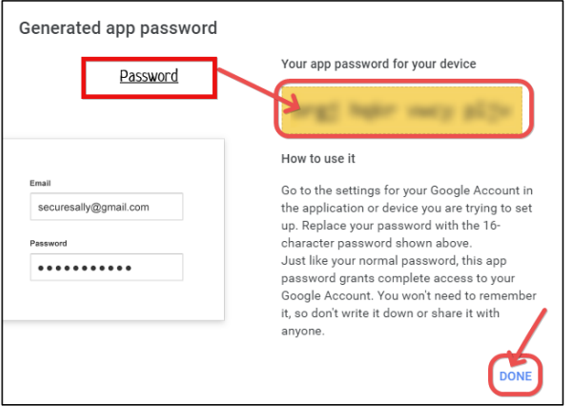
Note: Save the password for future reference in case the program is reinstalled, or the email profile is deleted and need to be recreated
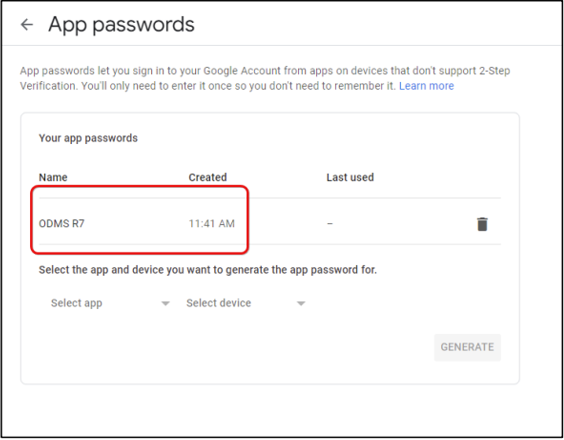
16) The following page displays the entry you created
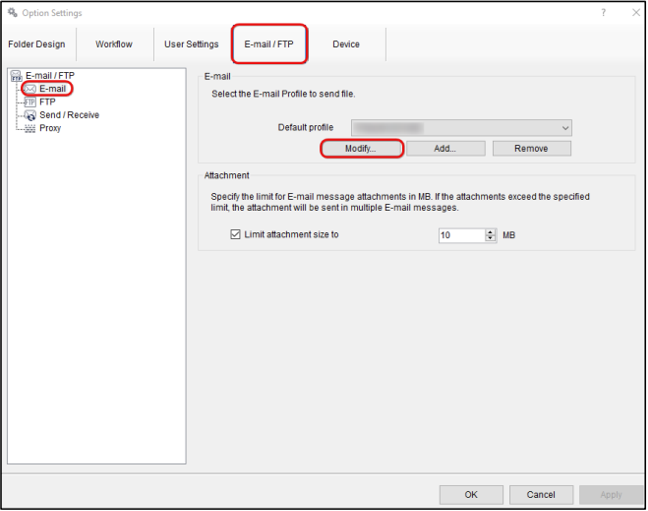
17) Open the ODMS Program, click “Tools” then Options to open the “Options Settings” window. Then click Email/FTP separator. When the Gmail Profile is selected in the “Default profile” window, click the “Modify” button
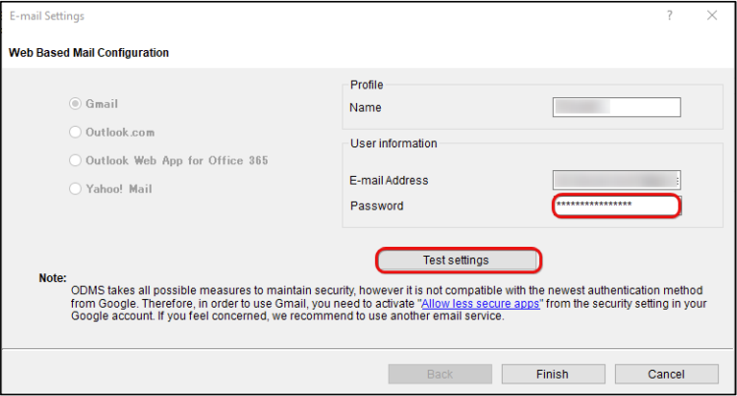
18) In the “Email Settings” window, input the new password that you generated using Gmail in to the “Password” window, then click the “Test settings” button
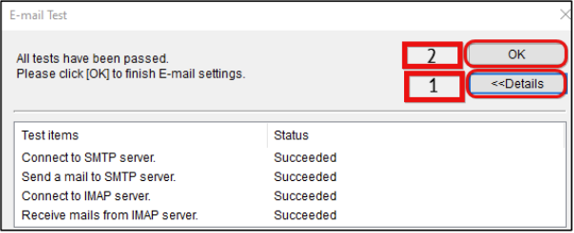
19) Click the “Details” button to verify if all entries passed the test, then click the “OK” button
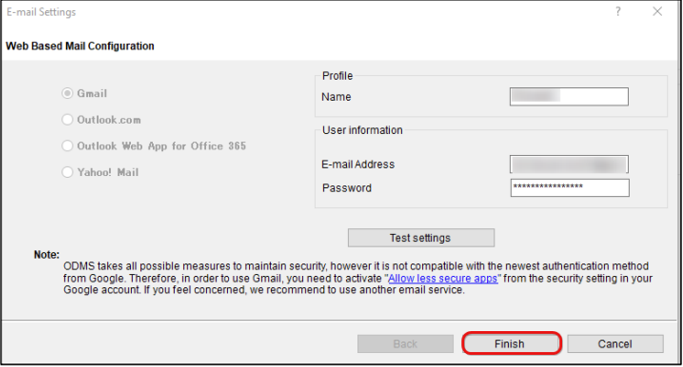
20) Click the “Finish” button to complete the setup/modification of the “Email Settings“
21) Finally, send a test file via email to ensure the new password is working properly
Note: Using the Gmail generated password will allow the user to continue to send files even if the primary Gmail account password has been changed