This guide provides step by step instructions on how to install the ODMS for Administrator components to the server for an ODMS Workgroup mode setup. This will cover the following topics:
- Repository Setup
- Repository Service
- System Configuration Program
- License Manager
Depending on the network configuration and preference, there are two methods for installing the SCP.
Method 1 – Repository Service
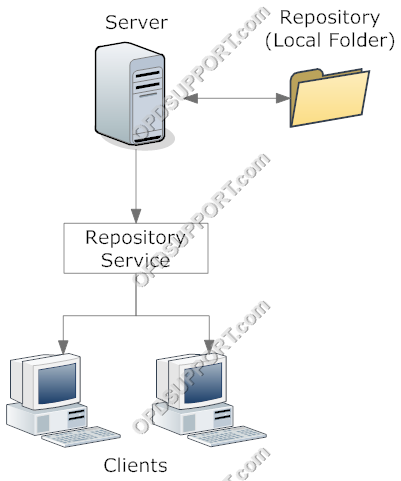
The repository service runs as a Windows Service. All users accessing the ODMS repository will connect via the repository service, rather than directly to a shared folder. This method should be used when the repository location does not have full permissions for the ODMS users.
Method 2 – Shared Folder
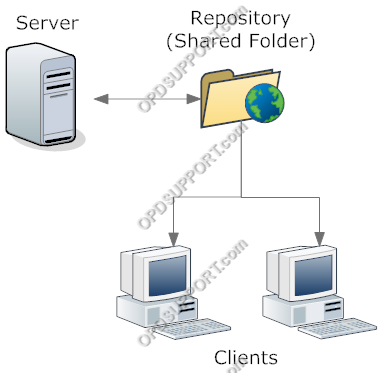
Creating the repository in a shared folder will allow ODMS users to retrieve the software settings from the network directly. This method should only be used when users have full access to the shared folder.
If you have chosen Method 1 please follow the next steps for installation the Repository service. If you have chosen Method 2 then create a folder in a shared location and name it Repository then skip to the SCP installation.
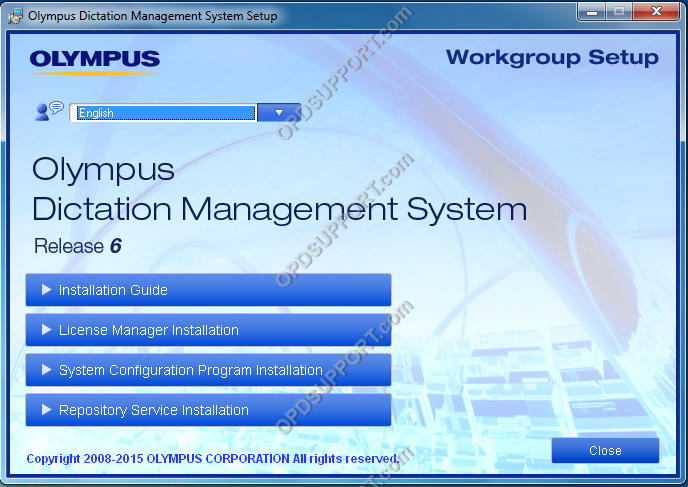
- Click “Repository Service Installation”.
- Click “Next” to begin the installation.
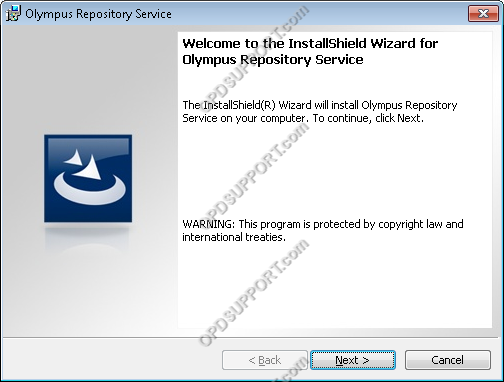
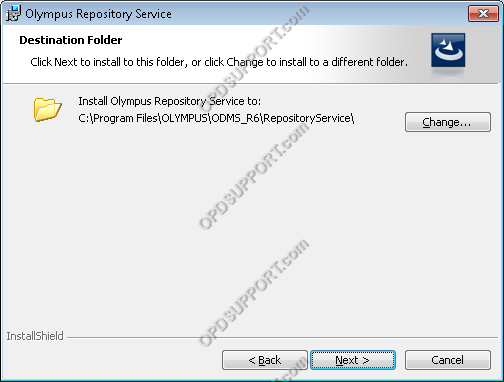
- Click “Next” to confirm the default installation path.
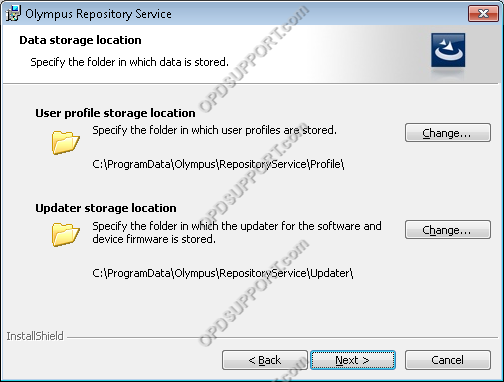
- Specify a storage location for user profiles and updater then click “Next”.
- Specify a port number and click “Next”. This should be a port that is not currently in use. The default port is 8000.
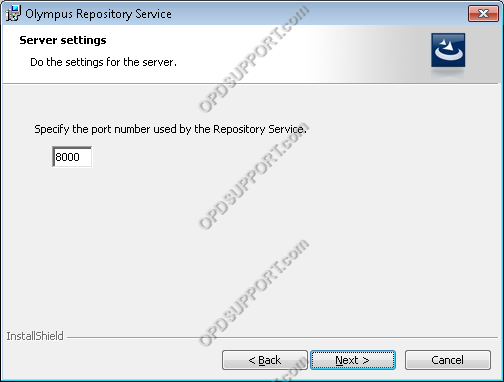
- If the port is in use by another process, an error will be produced. In this event, specify a different port number.
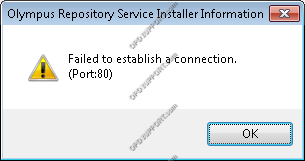
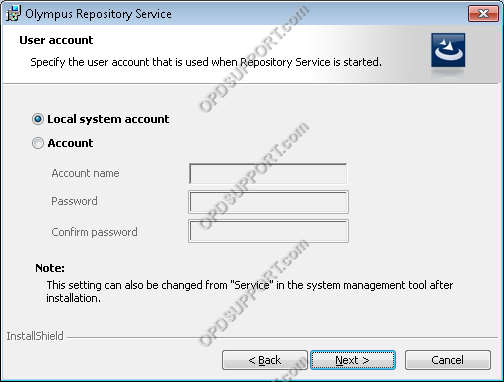
- Choose the account to start the Repository Service. Recommended to maintain default settings.
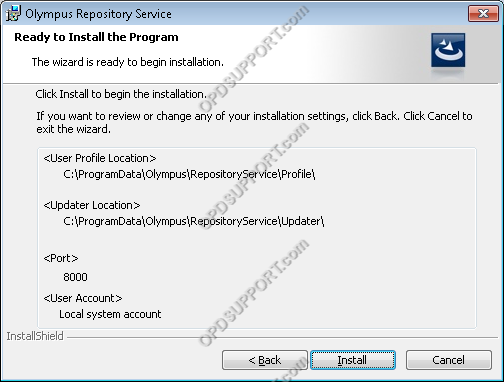
- Confirm the installation settings and click “Install” to begin the installation.
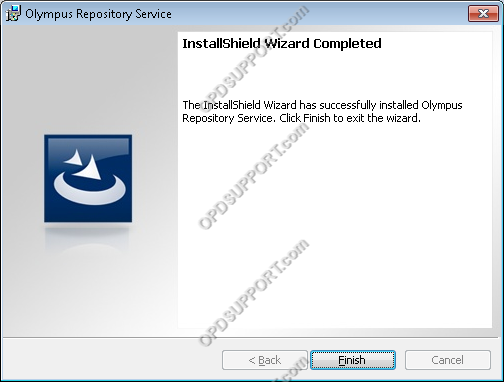
- The service is now installed and running, click “Finish”.
The System Configuration Program is an application used to centrally manage your users settings, deploy software and firmware updates. For information on how to configure your users, please click here
- Click “System Configuration Program Installation”.
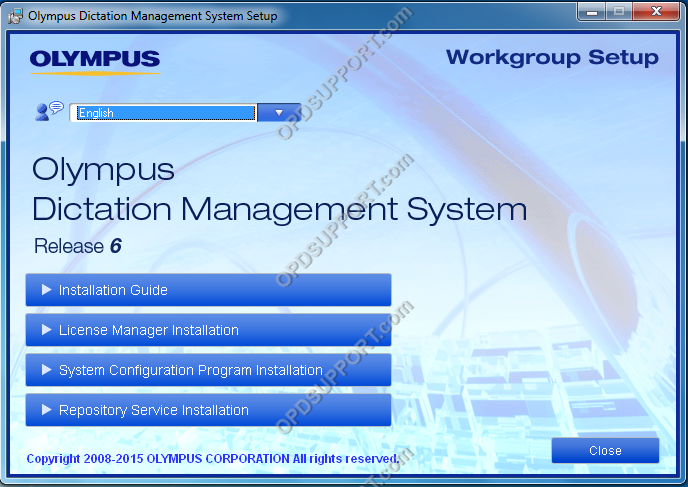
- Click “Next” to begin the installation.
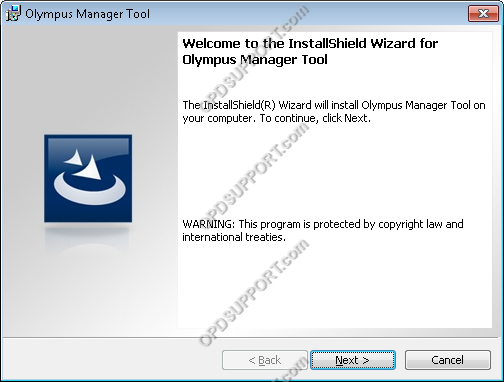
- Accept the Licence Agreement and click “Next”.
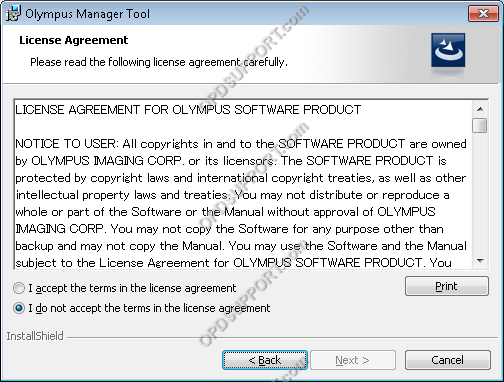
- Enter the System Configuration Program licence key and click “Next”.
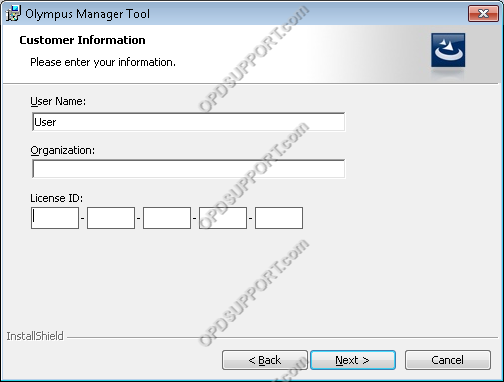
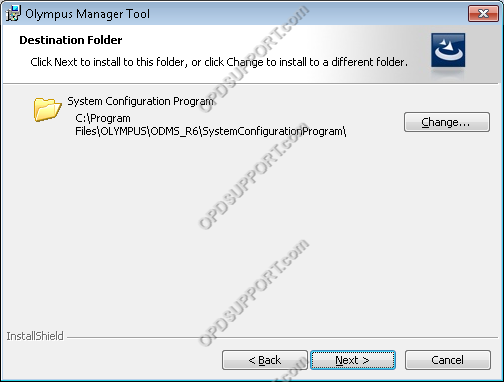
- Click “Next” to confirm the default installation path.
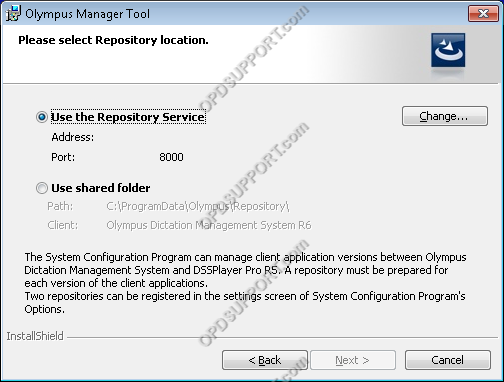
Repository Service (Method 1)
- Select “Use the Repository Service” and click “Change”
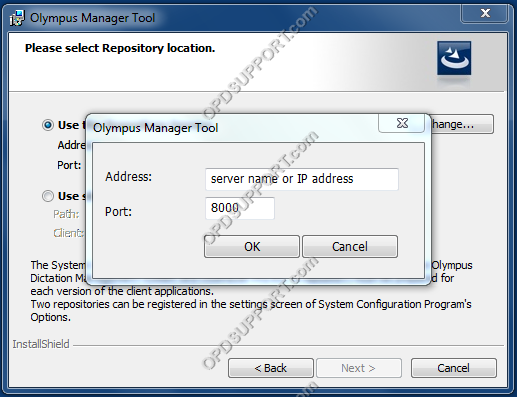
- Enter the server name or IP address and specify the port number. The port number should match the port number entered during the Repository Service installation.
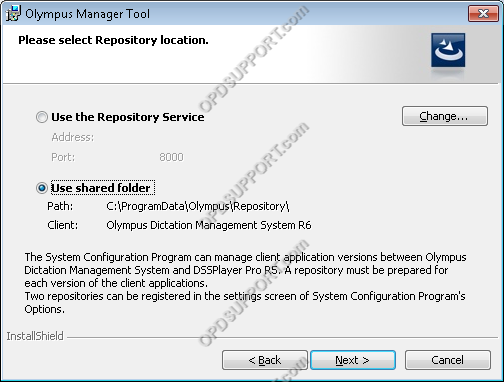
Shared Folder (Method 2)
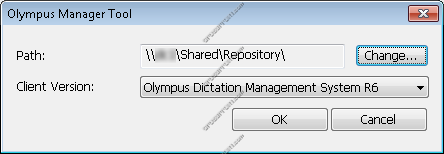
- Tick “Use Shared folder” and click “Change” to find the shared repository.
- It is recommended to use a UNC path as the repository location. This means accessing the repository through the Network option in the Browse for Folder window.
Click “OK” to confirm the selected folder to be used as the Repository.
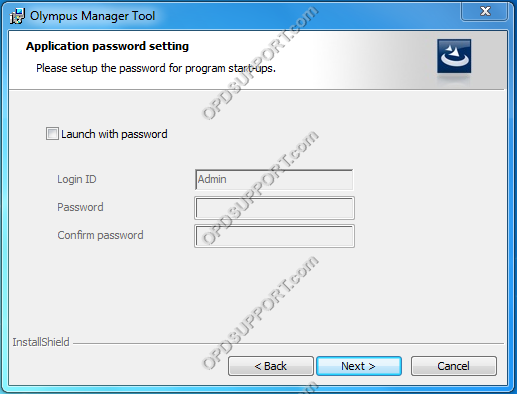
- If you want the SCP to prompt for a password upon launch then tick the box “Launch with Password” and enter credentials, otherwise click “Next”.
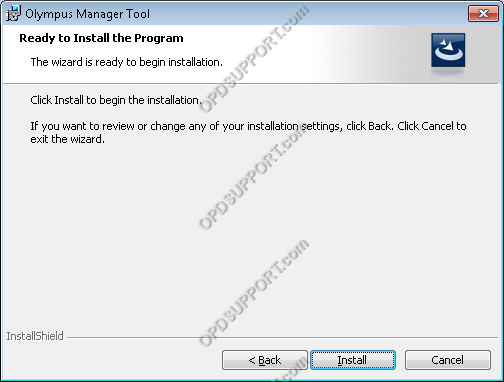
- Click “Install” to begin the installation.
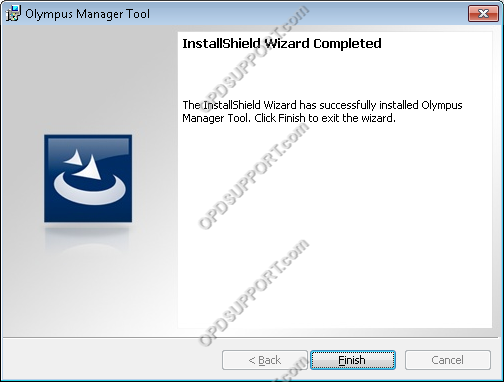
- Click “Finish” to complete the installation.
{slider=License Manager Installation}
The License Manager application handles the ODMS client licenses.
During the installation of the License Manager the software will prompt to enter the ODMS Dictation Module and Transcription Module Volume License Keys which can be found in the OVLID****.PDF.
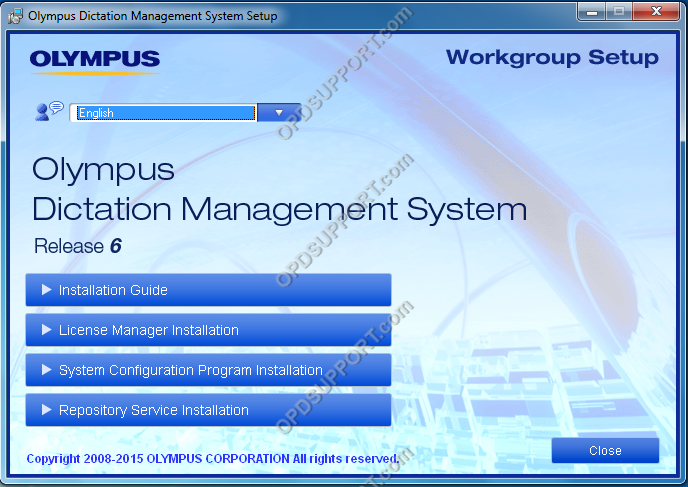
- Click “License Manager Installation”.
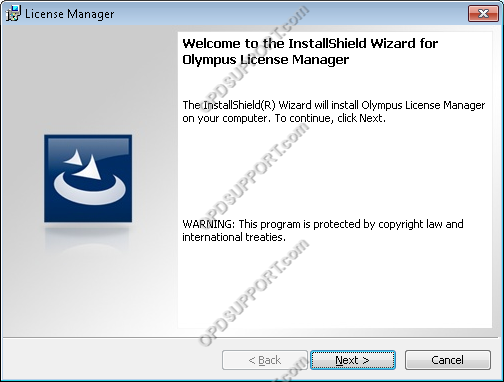
- Click “Next” to begin the installation.
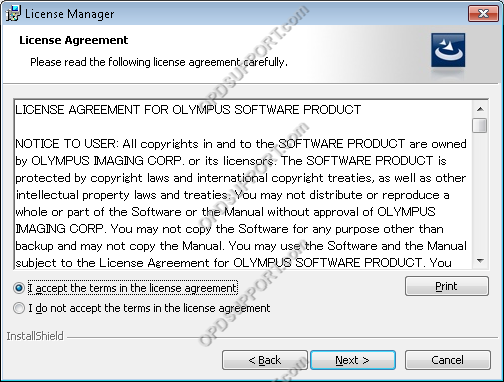
- Accept the License Agreement and click “Next”.
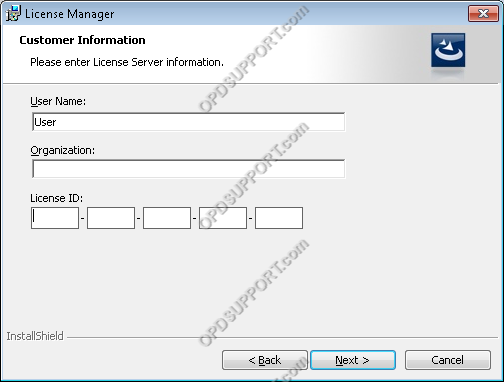
- Enter the License Manager license key and click “Next”.
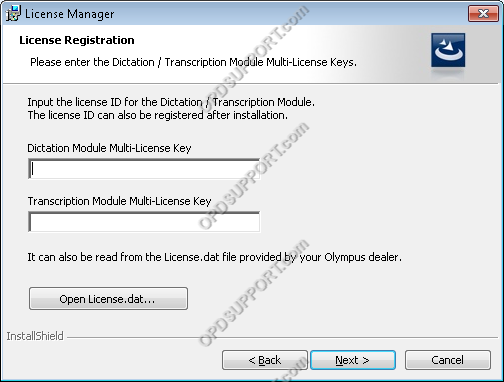
- Enter the Dictation Module and Transcription Module Volume Licence Keys found in the OVLID****.PDF and click “Next”.
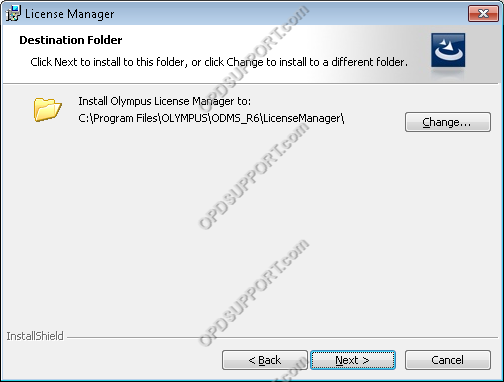
- Click “Next” to confirm the default installation path.
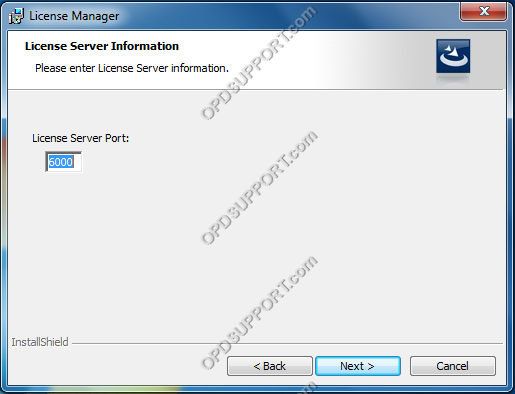
- Choose a port number that is not currently in use. The default port is 6000 on ODMS 6.4.0 and later however previous versions are on 80. Change the port number to a port that is not in use.
- Click “Next” to continue.
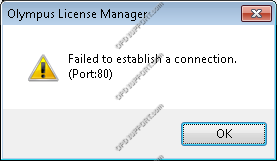
- If the port is in use by another process, an error will be produced. In this event, specify a different port number:
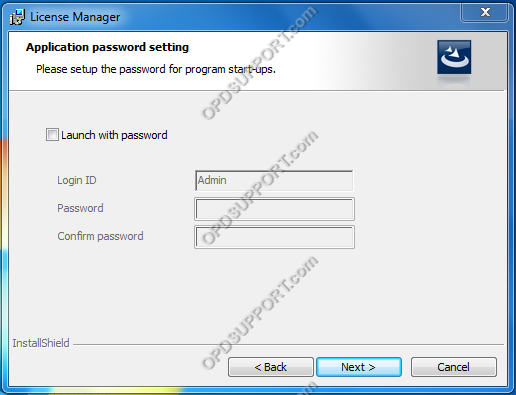
- If you want the LM to prompt for a password upon launch then tick the box Launch with Password and enter credential details, otherwise click Next.
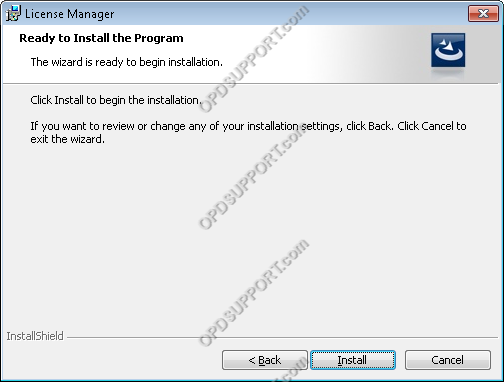
- Click “Install” to begin the installation.
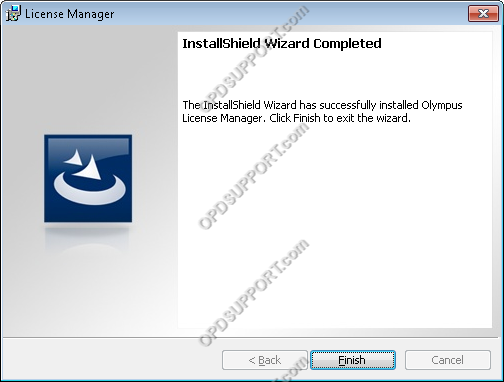
- Click “Finish” to complete the installation.
