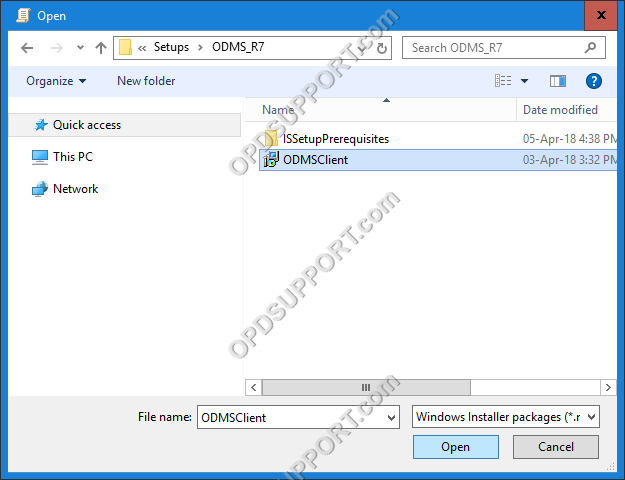
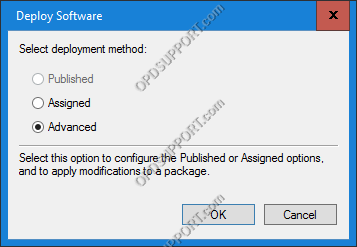
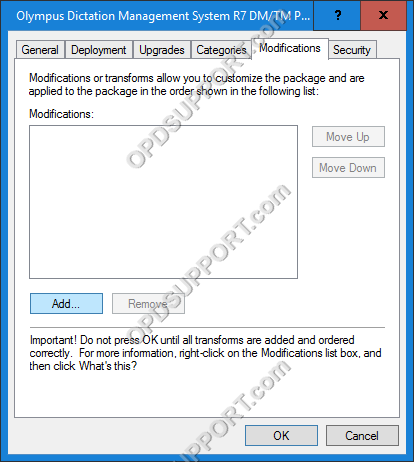
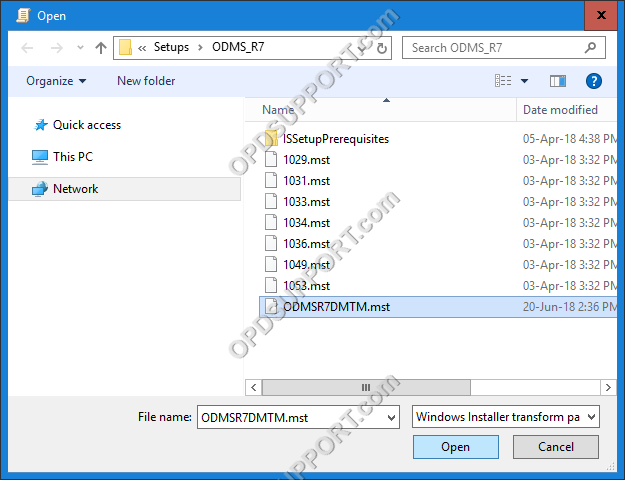
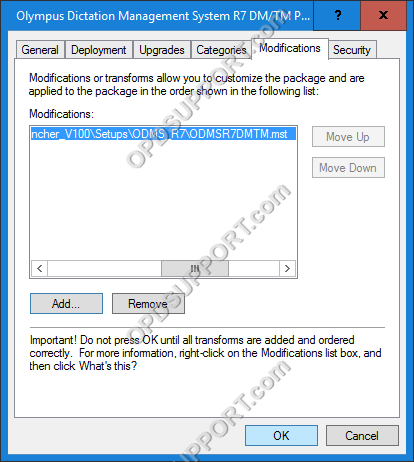
Please ensure the software MSI package and the customised MST package are in a shared folder which is accessible to all the Olympus users and computers to install the software. If you haven’t created an MST package please follow the MST creation guide.
You will require the following details when creating a batch file:
- UNC path to “ODMSClient.msi”
- UNC path to “ODMS_DM.mst” and “ODMS_TM.mst”
The batch file should be saved in the same folder as ODMSClient.msi. It is recommended to create two batch files, one to install the Dictation Module and one to install the Transcription Module.
Each batch file should be named to reflect the module of software being installed, for example, DM.bat and TM.bat.
To create a batch file:
- Open a new notepad document
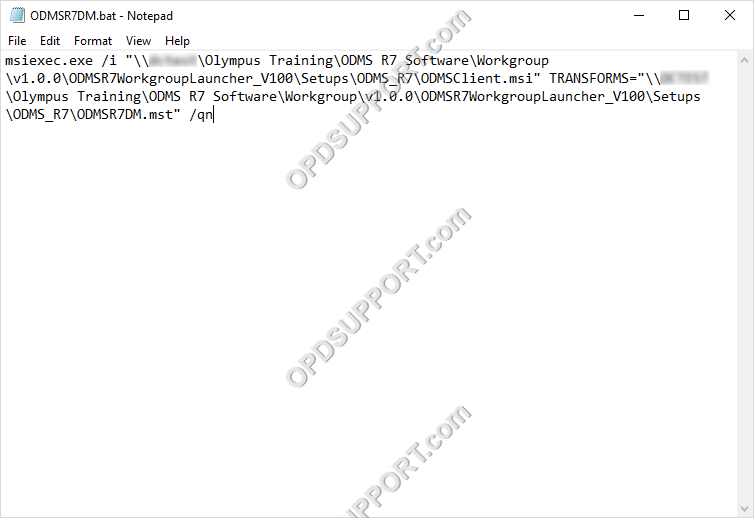
- Enter the following text: msiexec.exe /i “UNC path to ODMSClient.msi” TRANSFORMS=”UNC path to ODMS_DM.mst” /qn
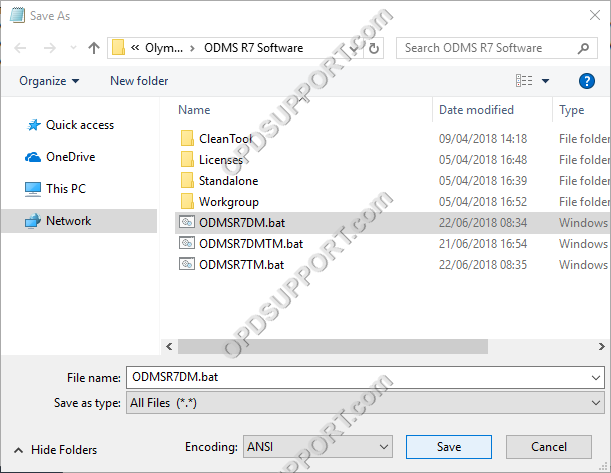
- Choose File > Save As to save the document as a batch file.
- Choose a file name including the extension “.bat”.
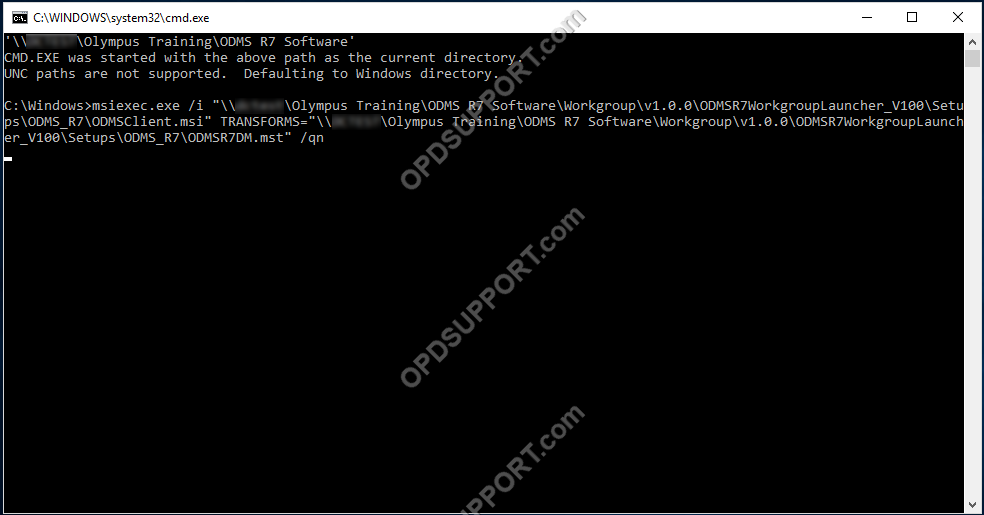
- The batch file is ready to be used for installation, you can double click the newly created batch file to install the software. A command prompt window will appear after executing. Once the command prompt window disappears, the software should be installed and ready to use.
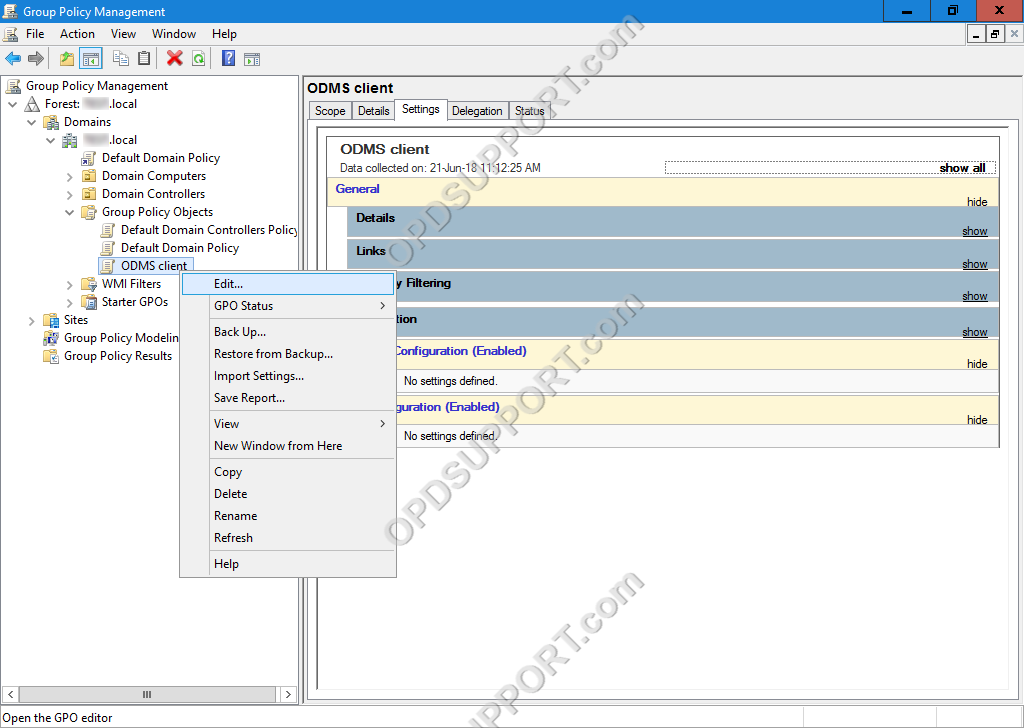
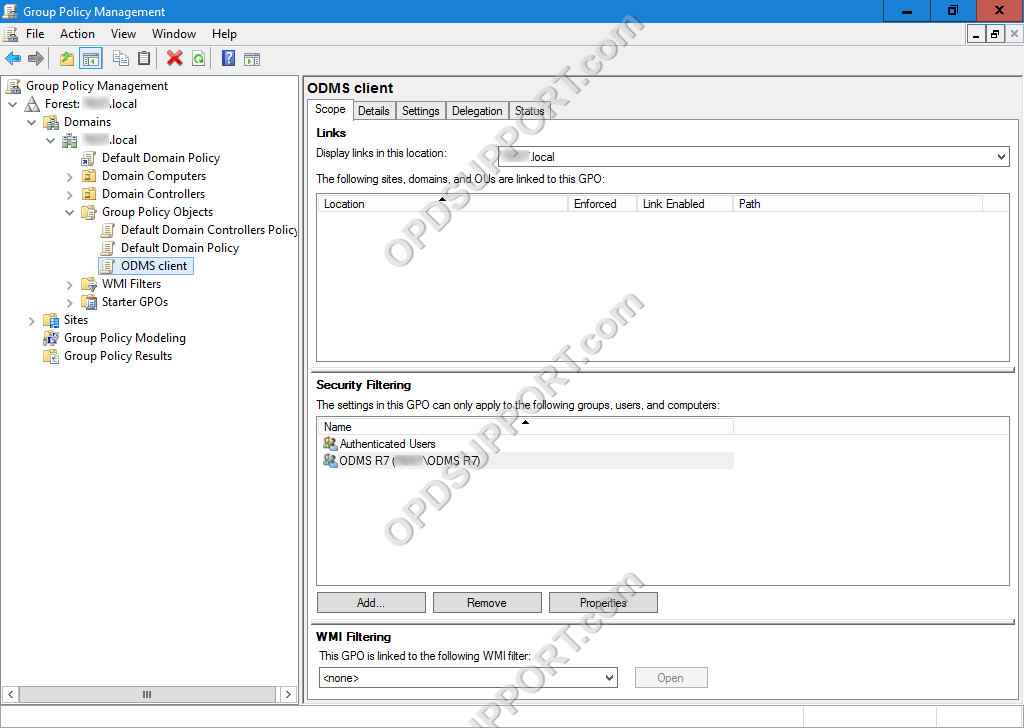
The batch file can also be deployed out to the users. In the example below, we will use Group Policy.
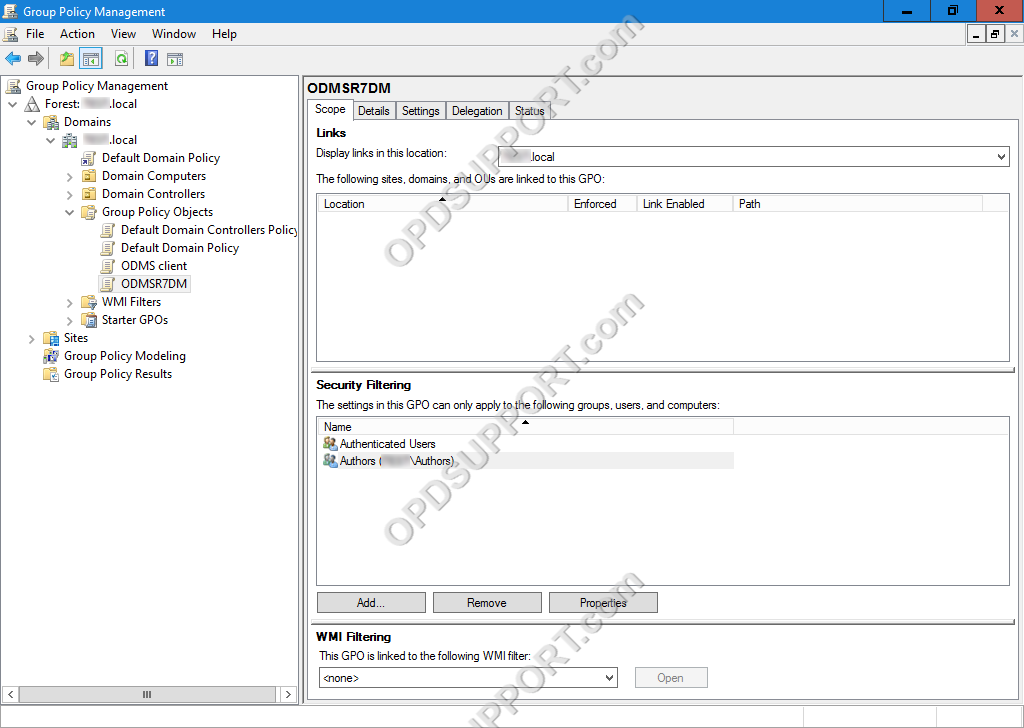
- Create a new GPO.
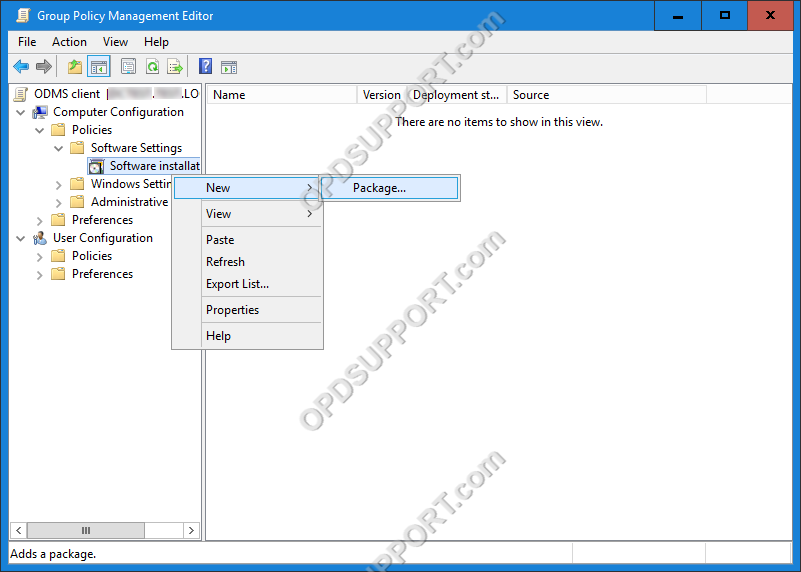
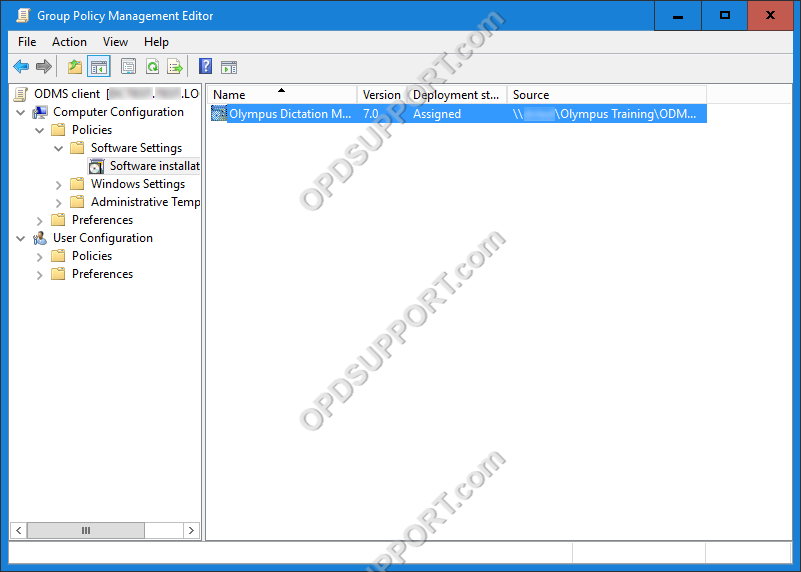
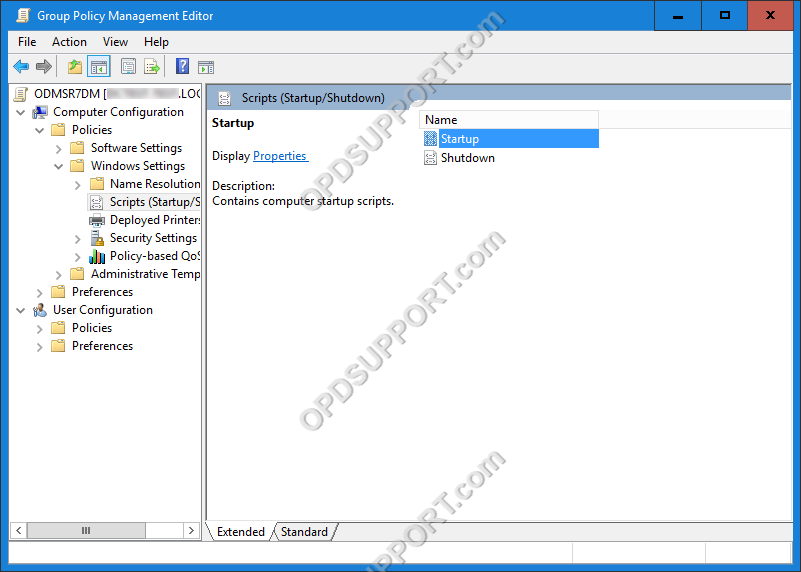
- Go to Computer Configuration, expand Policies, expand Windows Settings, click on Scripts and choose Startup.
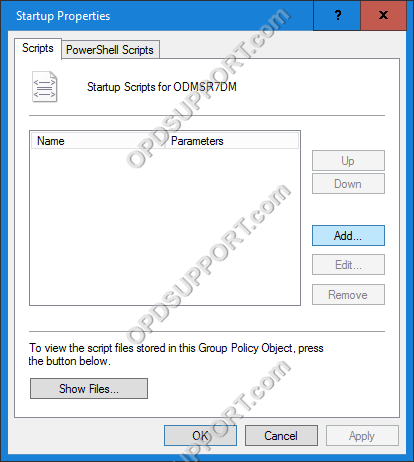
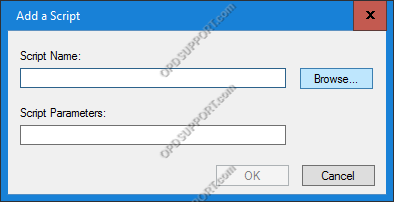
- Locate your batch file and click Open.
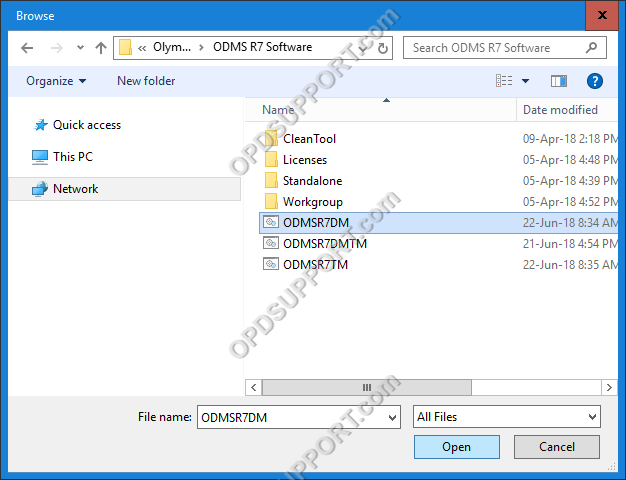
- Click OK to add the script.
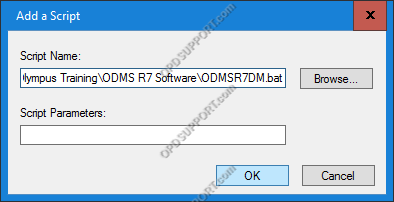
- Click OK to add the batch file to the Startup script.
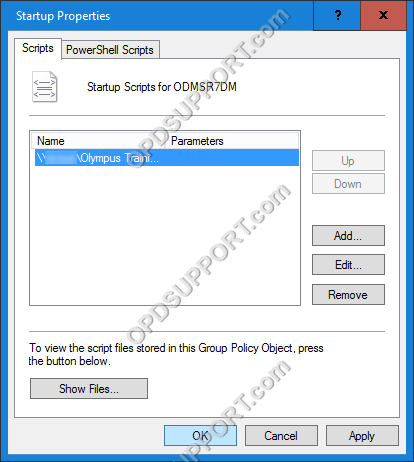
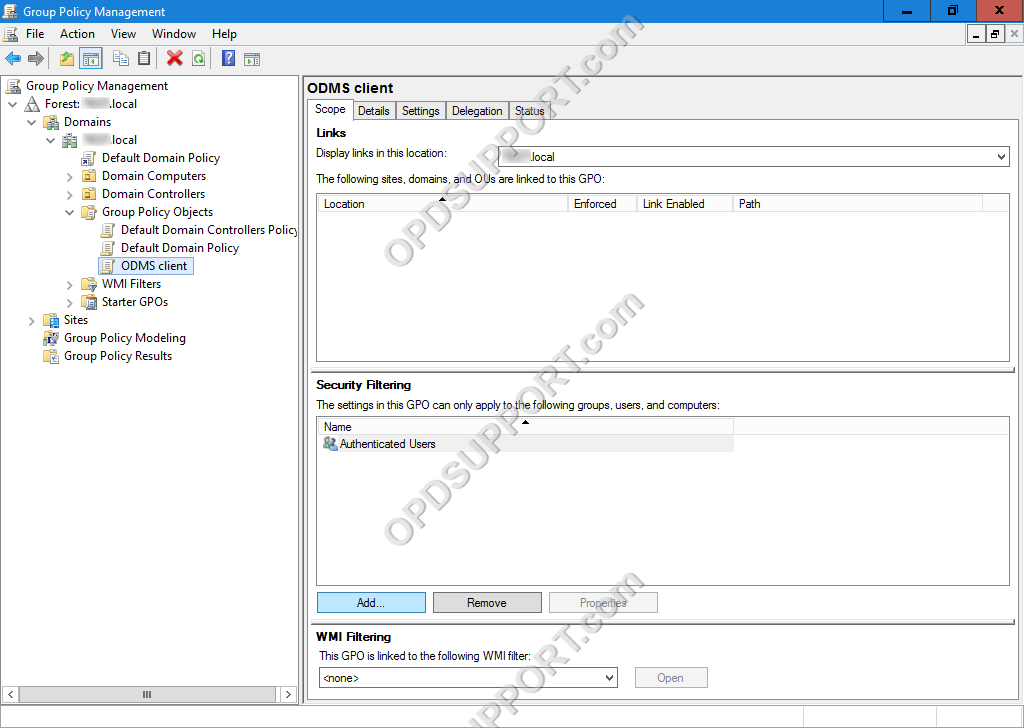
- Next, specify the target who will receive the deployed installation by going to Security Filtering and click Add.
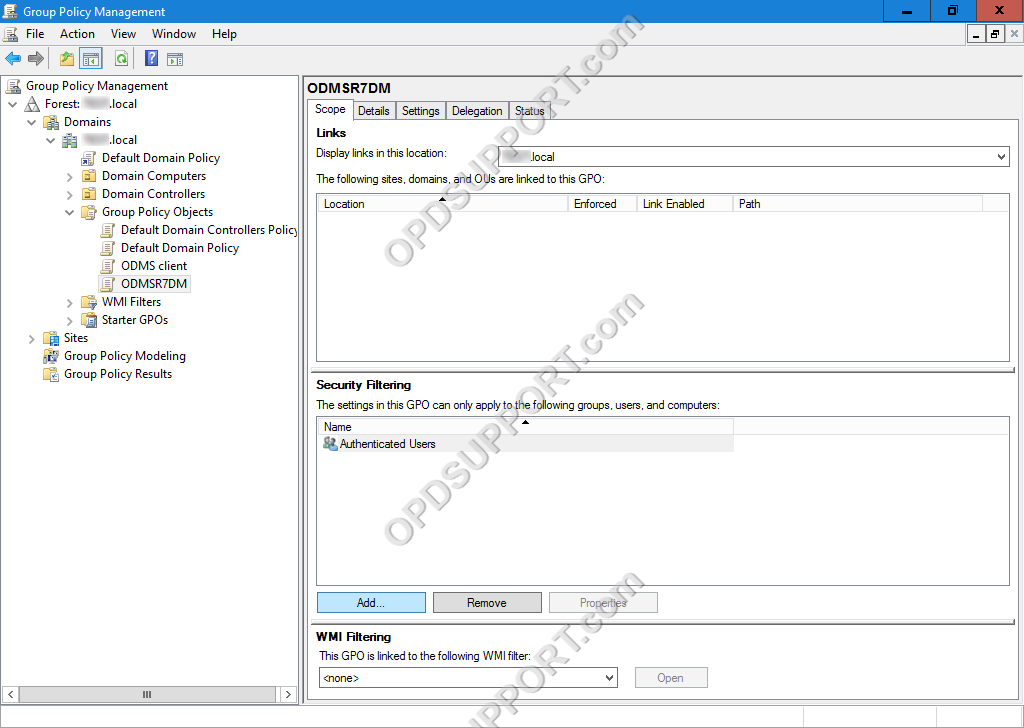
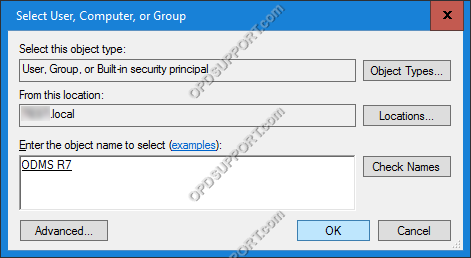
- Then enter the target object; this can be a user, a PC or a group and click OK.
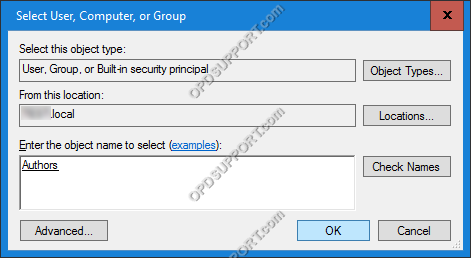
- Now the Group Policy Object is ready to be linked to your domain.
