This guide provides step by step instructions on how to install the ODMS R7 System Configuration Program.
Note: If you don’t have an R7 SCP license, then please contact your local Olympus dealer.
The System Configuration Program is a web application used to centrally manage your user’s settings, licenses and firmware updates.
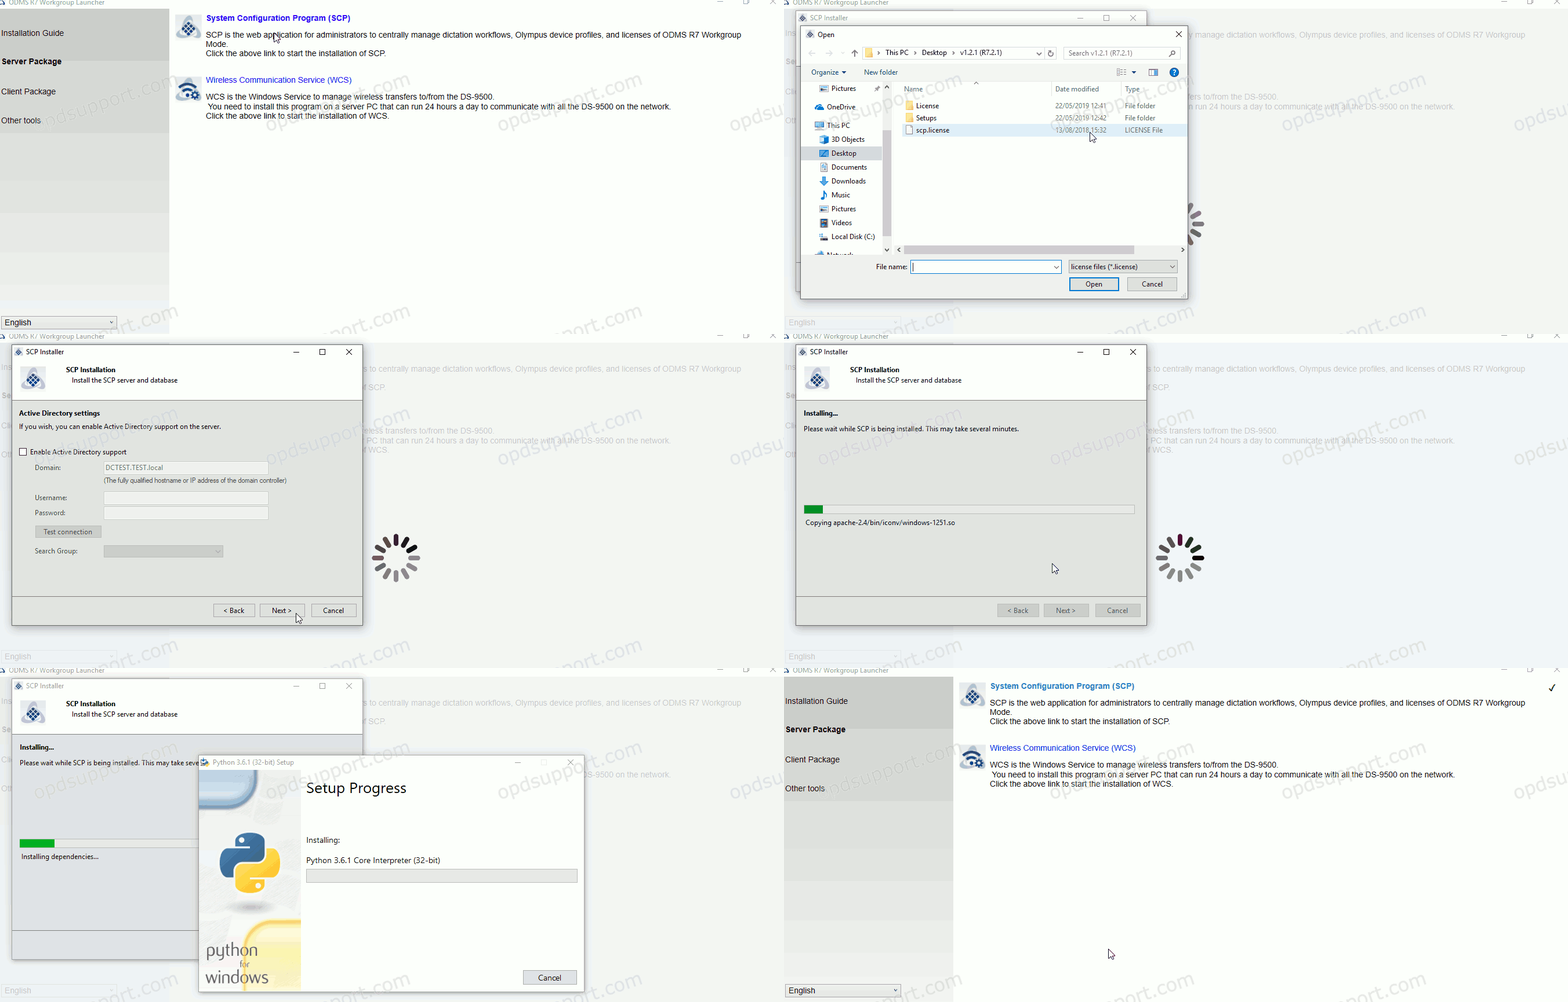
Note: We would recommend installing this on a server which doesn’t already have an SQL database installed.
- Click “System Configuration Program Installation”.
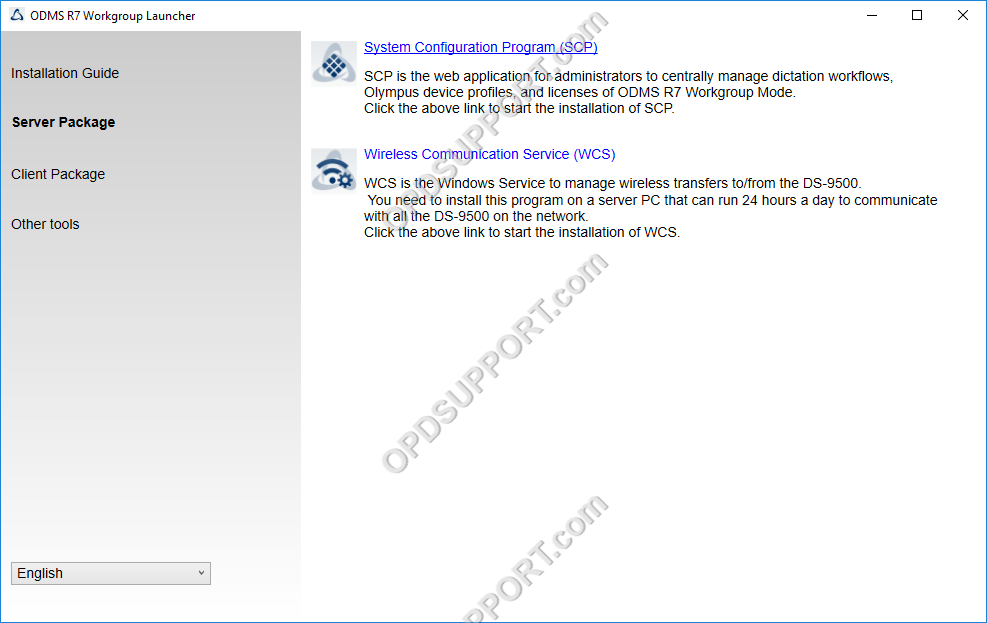
- Accept the license agreement and click Next to begin the installation.
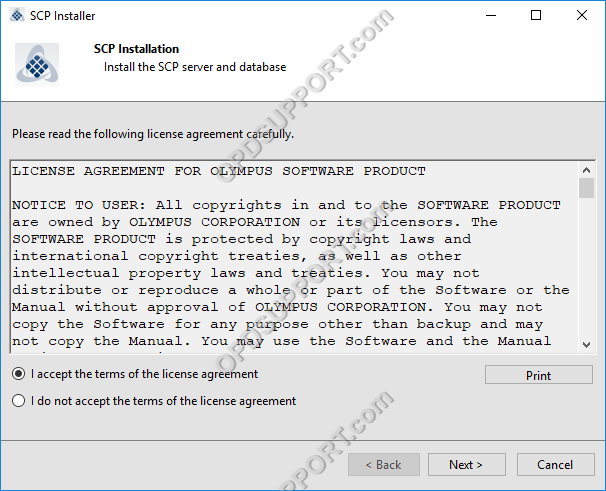
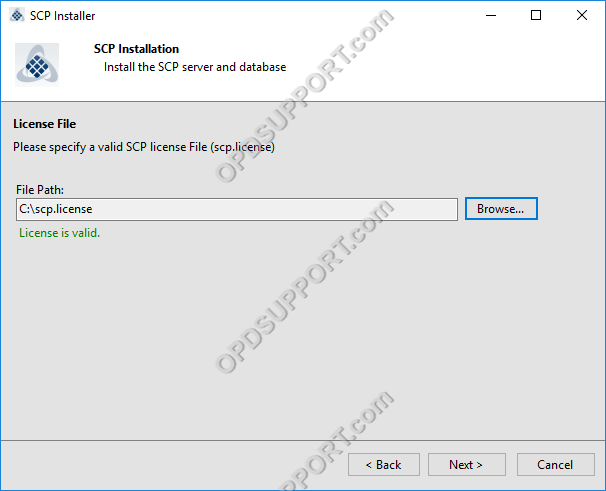
- Click Browse and locate your SCP.license file. The SCP.license file is used to activate the SCP and it’s also used for the volume license.
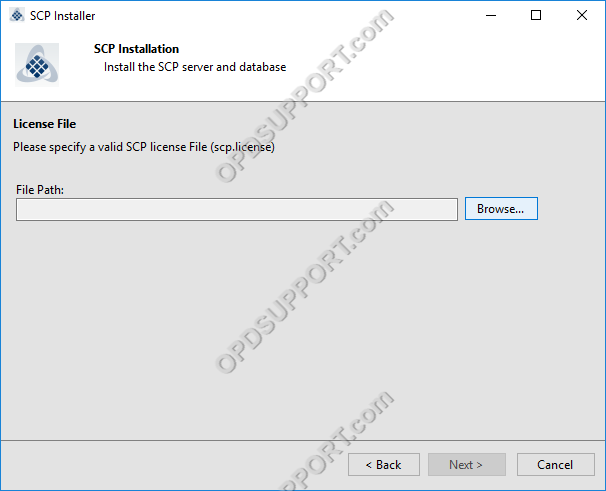
- Once the SCP.license file has been imported and validated click Next.
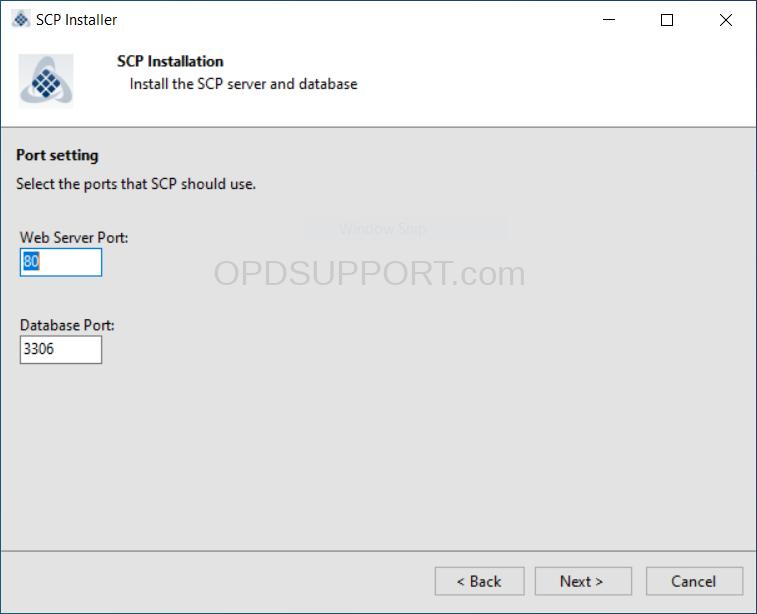
- Specify the HTTP port to use and click Next
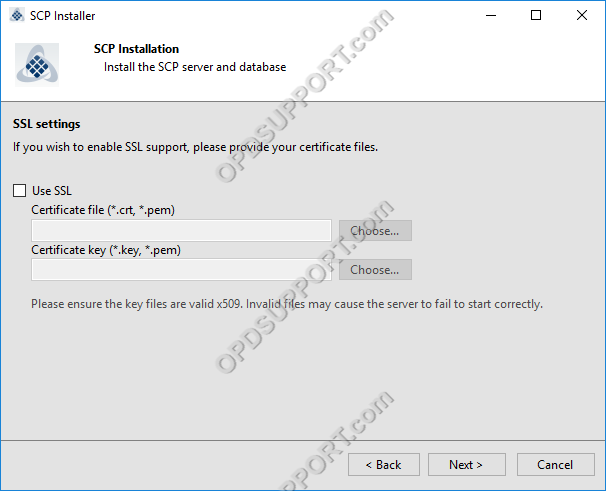
- Optional: If you want to use a secure connection then tick the box “Use SSL”. Specify the Certificate file and Certificate key click Next. Please note this is the only time that you can configure the SSL option.
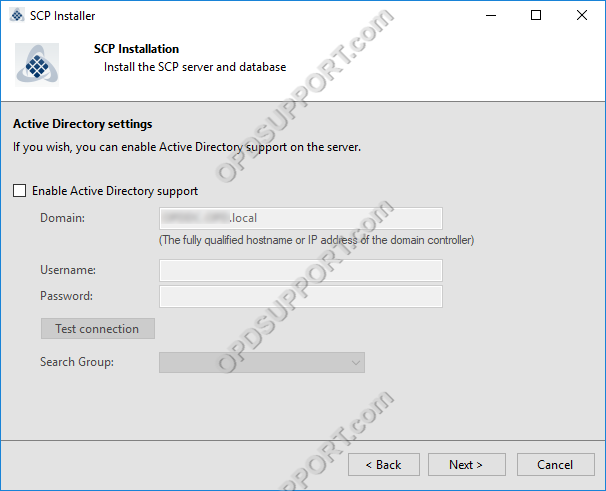
- Optional: If you want the SCP to work with your Active Directory then tick the box “Enable Active Directory support”. Enter the Domain, Username and Password and click Test Connection to confirm the credentials are correct then click Next.
- Enter a password for the SCP Admin account and click Next.
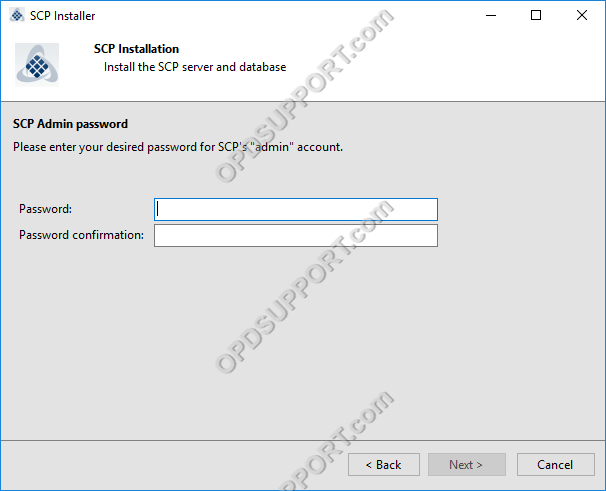
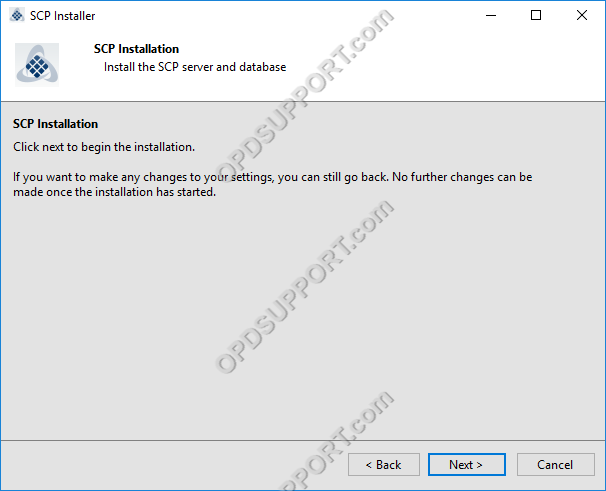
- Click Next to begin installation
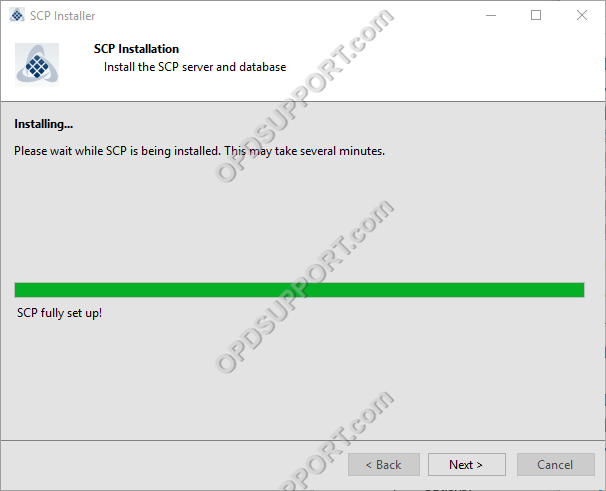
- The SCP is now installed click Next.
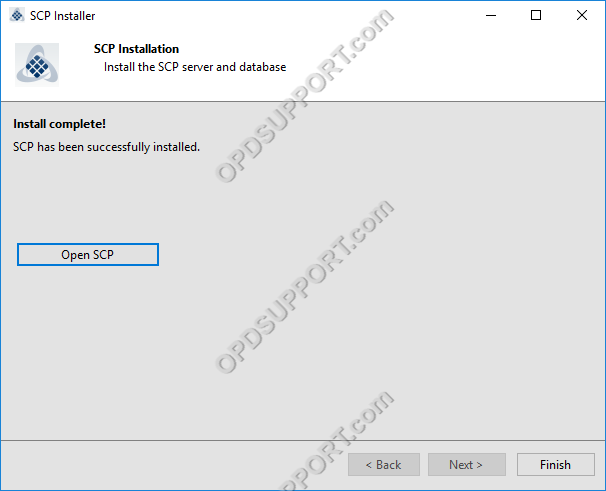
- You can now access the SCP by clicking on Open SCP or just click Finish to access the SCP later.
- To access the SCP you need to open a web browser and type in http://servername/fe. If you changed the port number during the installation then you will need to specify the port in the address http://servername:port/fe.
