This guide will take you through how to create an MST package using the MST file generator for customised deployments.
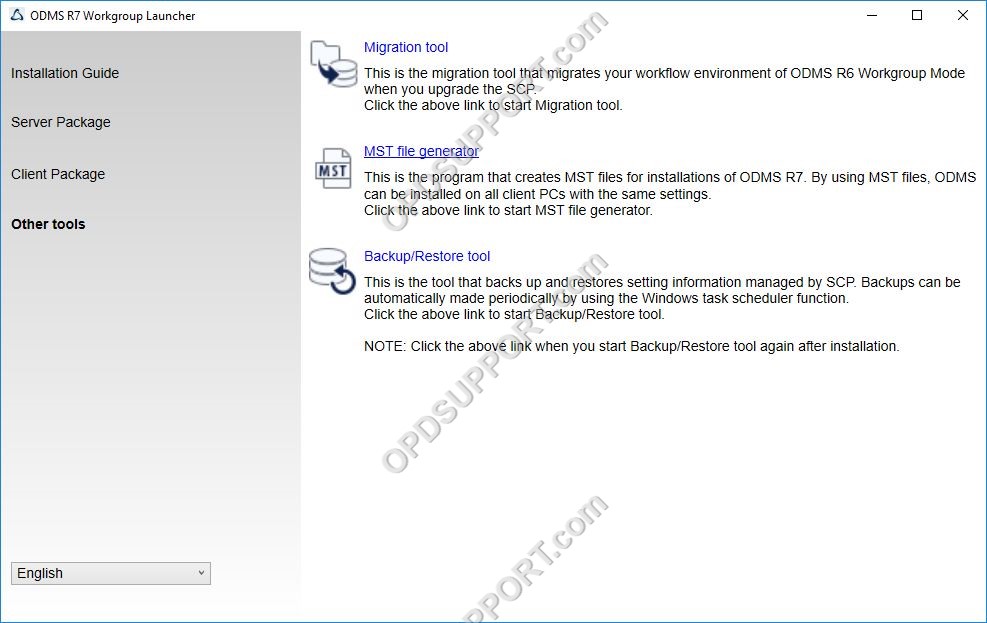
- Launch the ODMS R8/R7 Workgroup Launcher.
- Select Other tools and click the MST file generator.
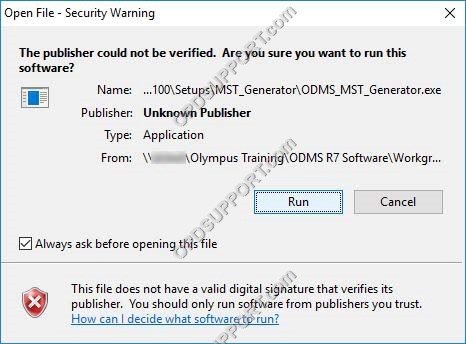
- Click Run.
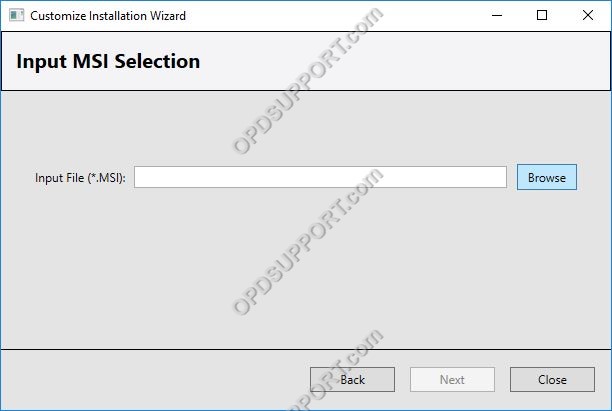
- The Customize Installation Wizard will appear, click Next.

- At the Input MSI selection, click Browse.
- Locate the ODMSClient.msi and click open.
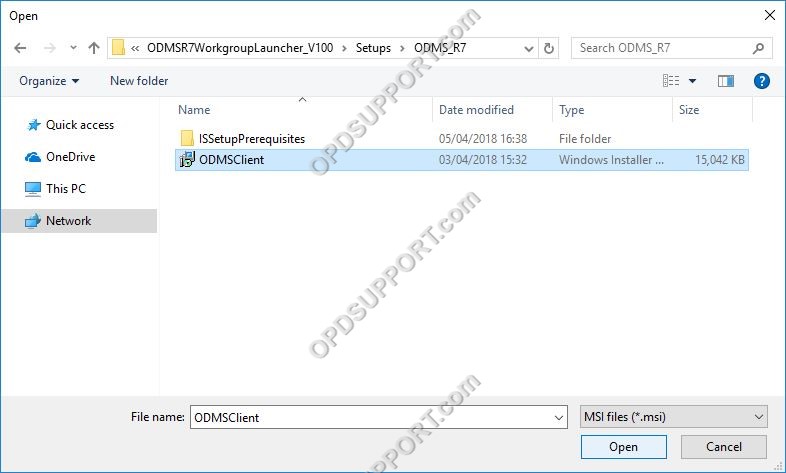
- The input file location will now appear, click Next.

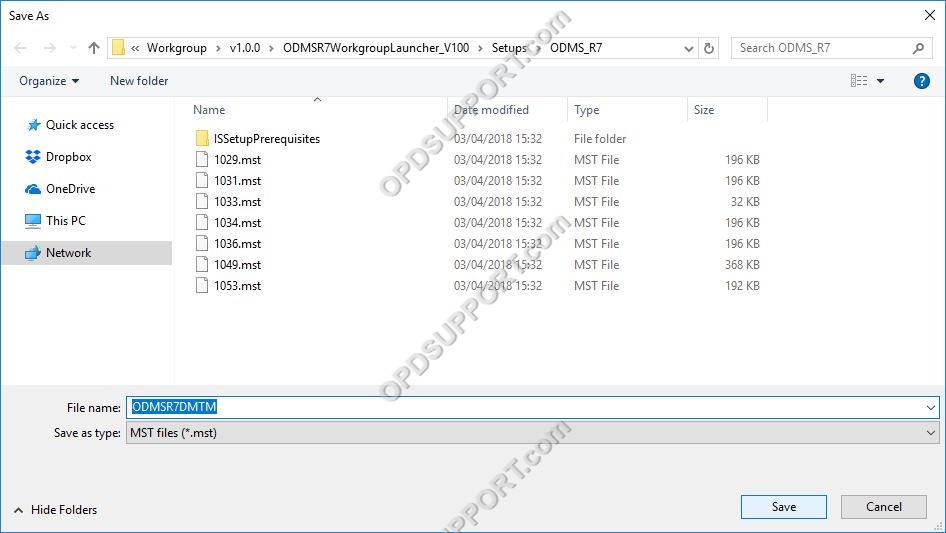
- To select the output MST file, click Browse.

- Specify a location and enter a name for the generated MST file.
- The output file location will now appear, click next.
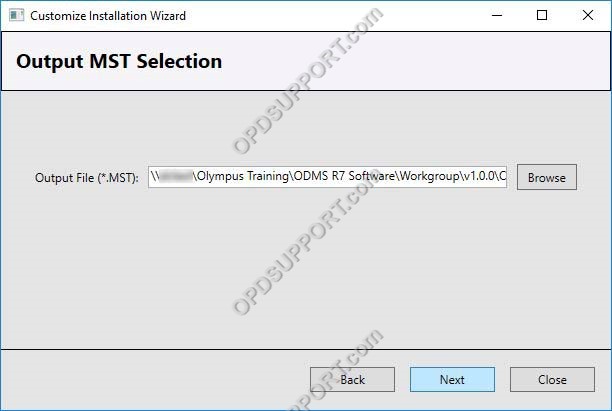
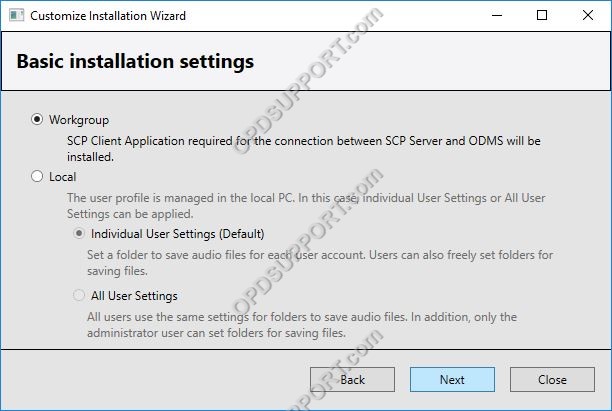
- Select Workgroup for centralised management with the SCP and click Next.
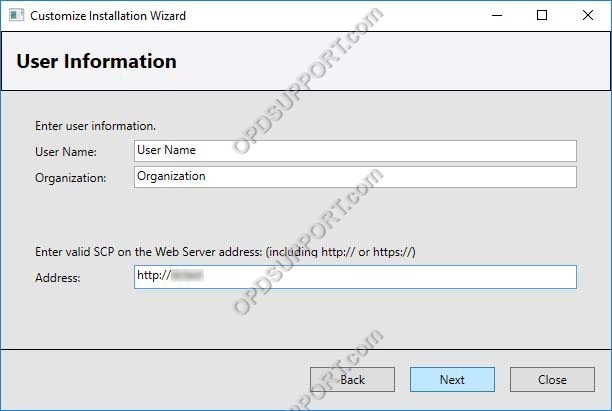
- Enter the username and organisation if applicable.
- Enter the web server address which is hosting the SCP.
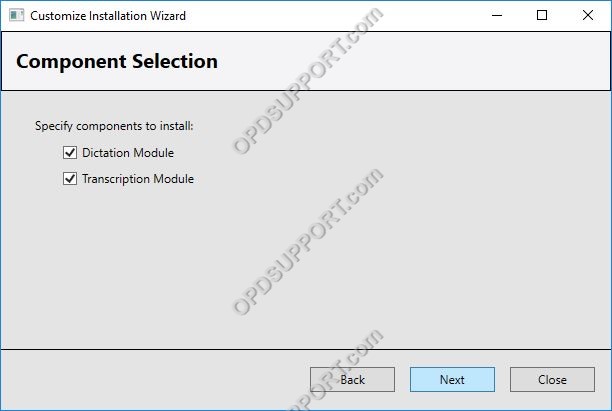
- Tick the box for the modules you want installed.
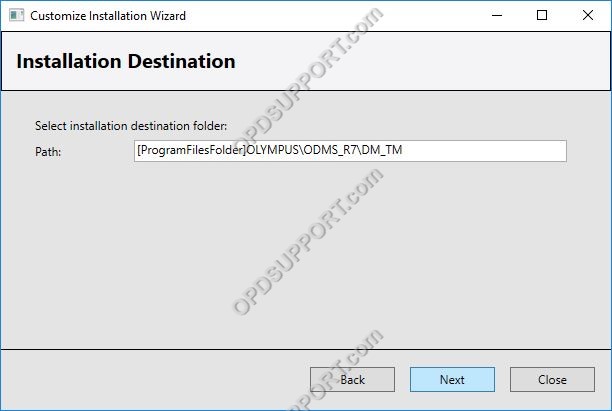
- Select the installation destination folder and click Next.
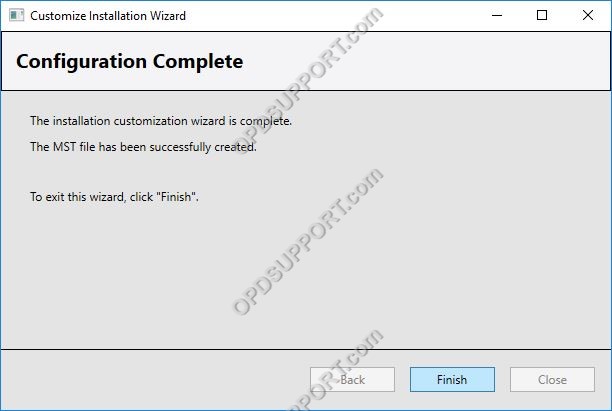
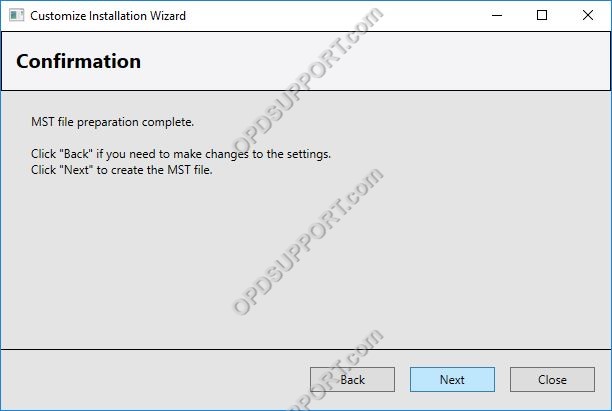
- Click Next to create the MST file.
- Click Finish