Fields are used in document templates to make voice recognition quicker and easier. Fields are always shown in square brackets on the document template.
There are two types of fields for use with speech recognition:
Custom Field: This is any field that you might add to the template in order to fill it in more quickly e.g. [My Client’s name] or [Add summary here]. They can be selected by saying “Next Field”/”Previous Field” during speech recognition.
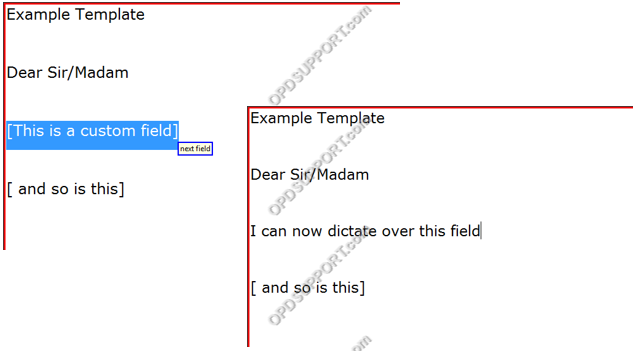
Note: Custom fields can only be used with Real-time VR as they require the user to navigate to them during dictation by saying “Next Field” or pressing a button on their device.
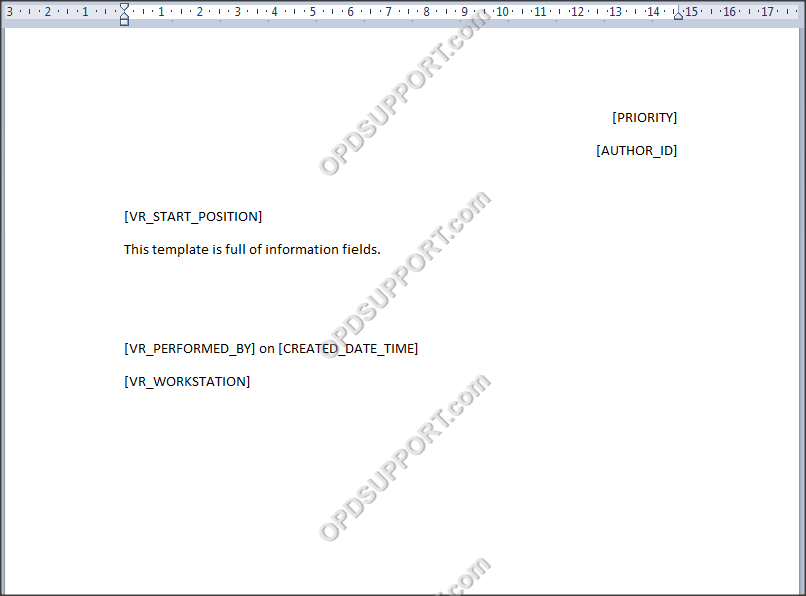
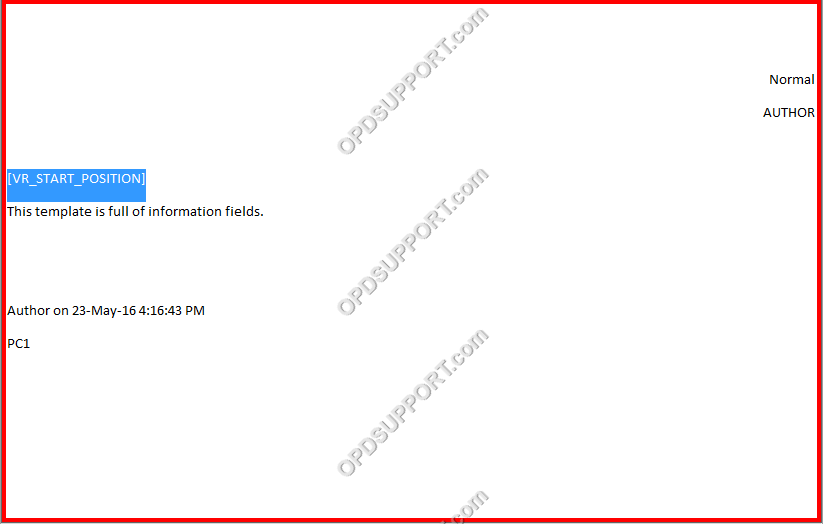
Information Field: An information field can be used to tell ODMS to insert information from the dictation, or set the starting point of speech recognition.
Template File
ODMS Real-time VR Window
Configuring Fields
Information Fields
- Create your document template as per the steps outlined earlier and then open it in Word Pad to add fields.
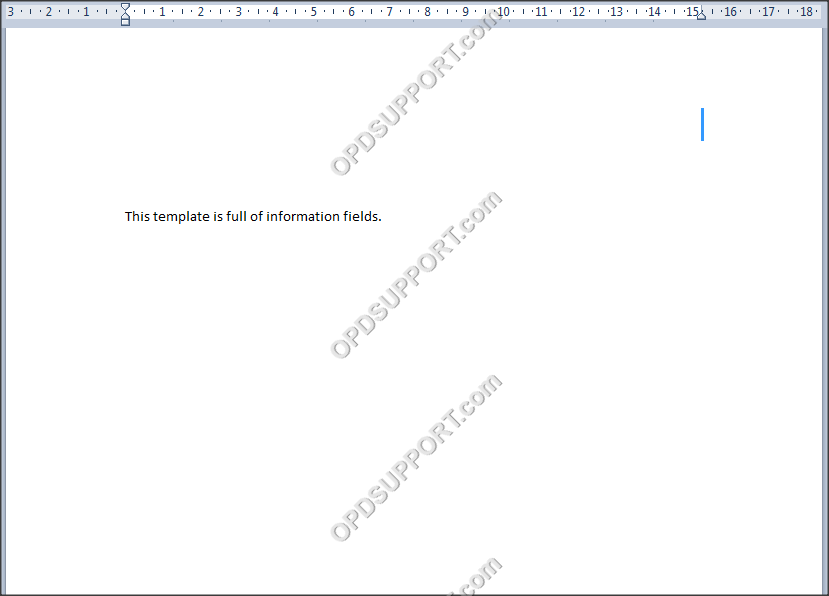
- Keeping the document open, go to ODMS and click on the Fields button in the main window. The fields dialogue will appear.

- Click the document window so that ODMS knows where to insert the fields. The target window field will change to reflect this.
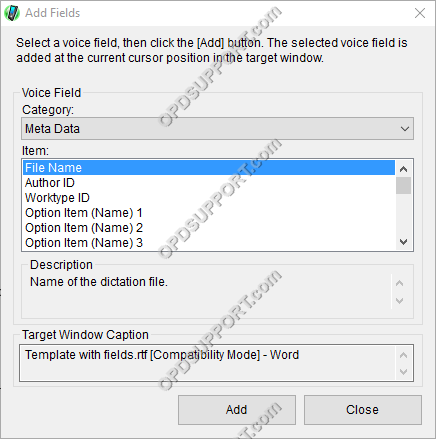
- Choose the field you wish to add from the list, and click Add. The field will appear in the document at the cursor position.
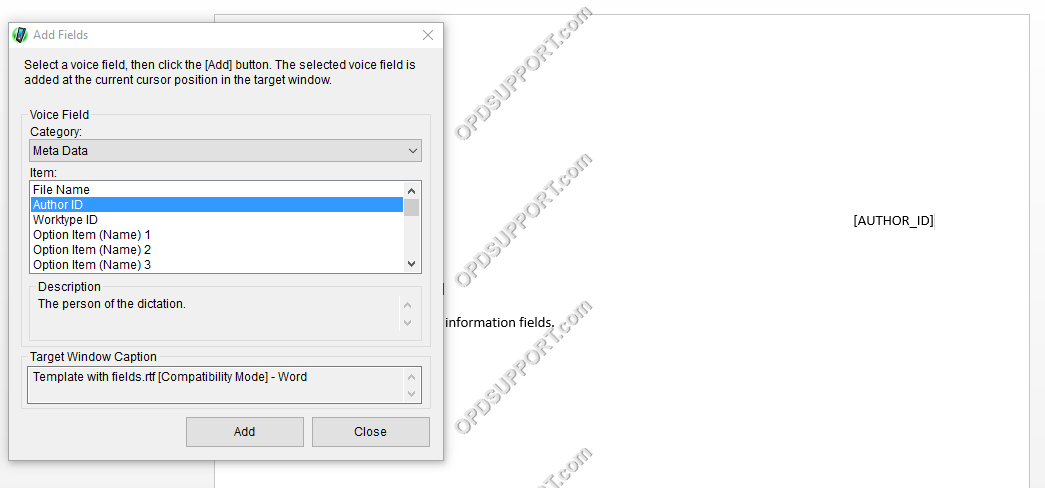
NOTE: This text can be moved or typed manually, as long as the spelling and structure of the field is identical to that of ODMS.
- Once you’ve added all of the required fields click Ok to close the fields dialogue.
- Save the file as an RTF document and associate it via the Voice Recognition > Template menu. Follow the guide here on associating document templates.
