This guide will take you through how to create an MST package in the SCP for customised deployments.
- To create an MST package, click on the Software tab.
- Select a software package from the Package List either in ODMS or DSS Player Pro.
- Click the Customize button shown in the image below.

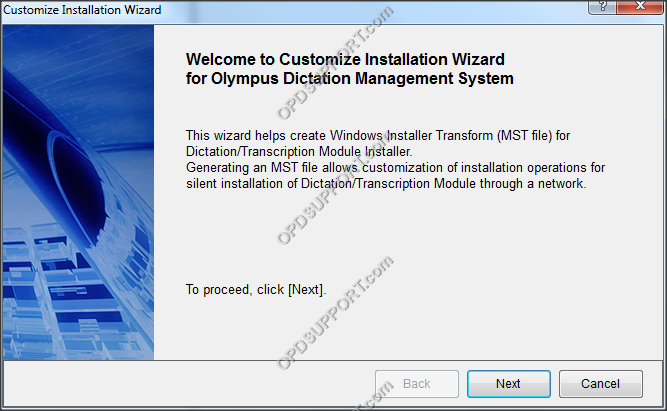
- The Customize Installation Wizard will appear, click Next.
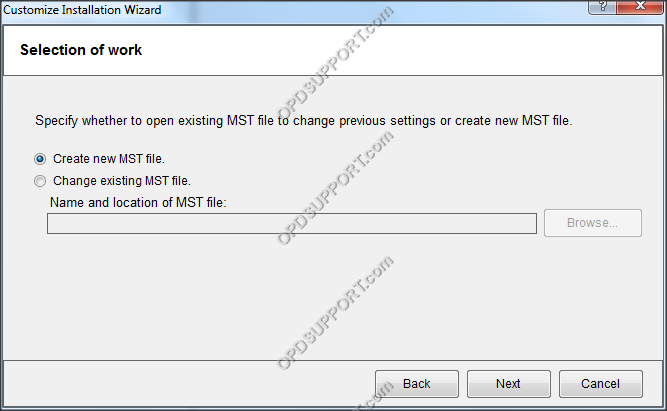
- Click Create new MST file and click Next.
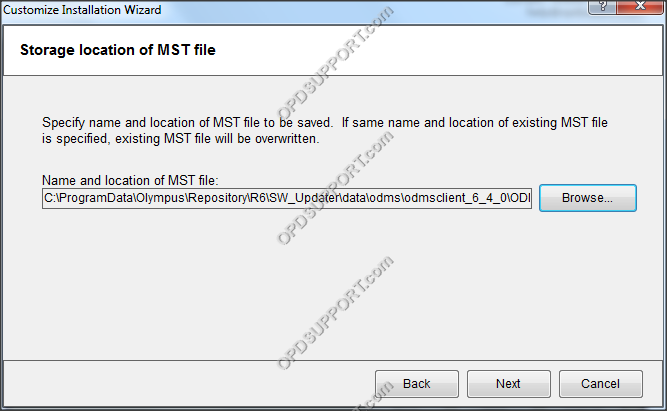
- Click Browse.
- Rename the file and click Save.
- Click Next.
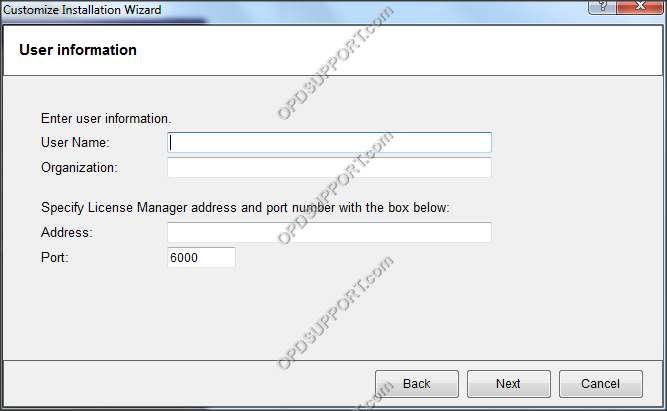
- Enter the Licence Manager Address and Port number.
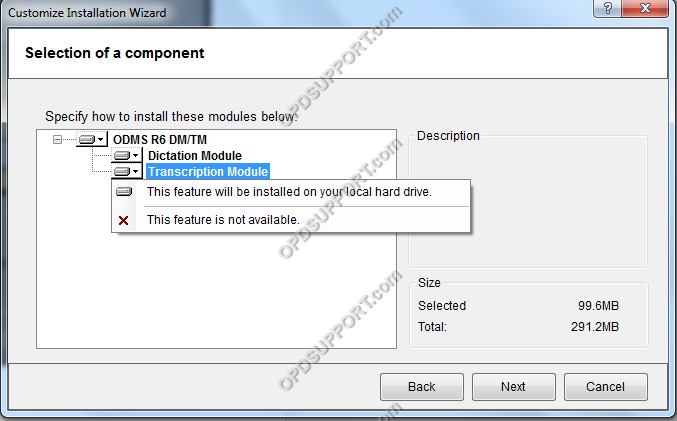
- Click on the Module and select whether to have the feature available or not.
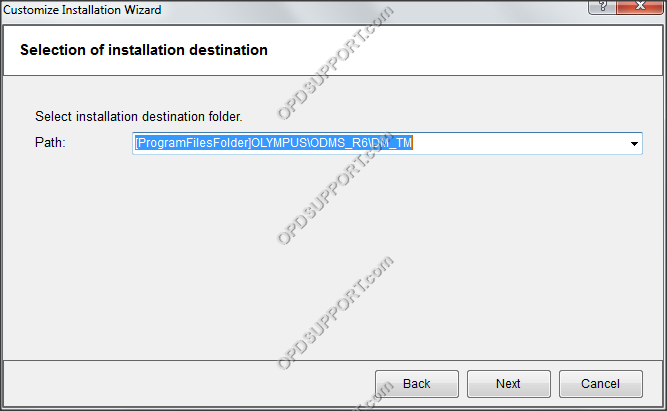
- Click Next, leave the path as default.
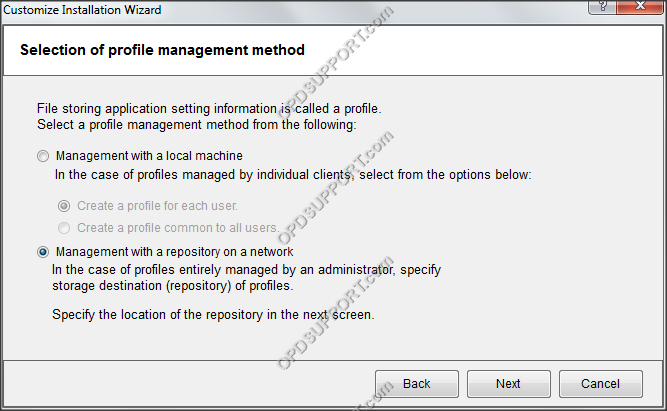
- Select Management with a repository on a network and click Next.
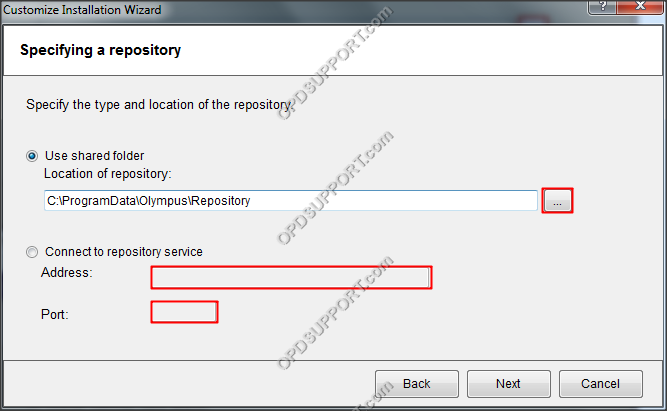
- Select an option for connecting to the repository.
- If using a shared folder click the “…” button and browse to the repository location
- If using the repository service, fill in the Address and Port number.
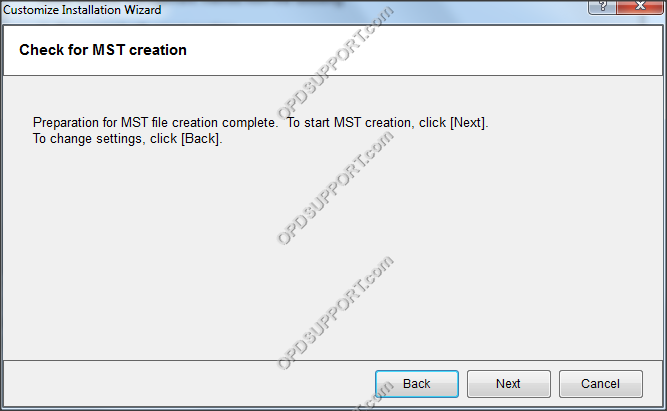
- Click Next to create the MST file.
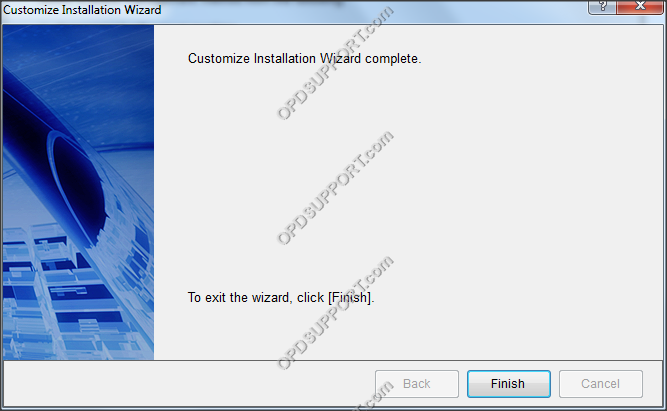
- Click Finish
