
The Dictation File created using the dictation device or the smartphone app <ODMS Cloud for Mobile App> needs to be uploaded to ODMS Cloud and assigned to the Transcriptionist for them to be transcribed into text. This chapter explains uploading the dictation files.
- File Upload from Desktop App (Author)
- File Upload from Desktop App (other than Author)
- Checking file upload status
- Edit Dictation File Name
- Delete Dictation File
1). File Upload from Desktop App (Author)
If the login ID of the Desktop App is an Author
When a Dictation device (e.g. DS-9100) is connected via USB to a PC where a user with Author Roll is logged into the Desktop App, the Dictation File will be uploaded under the following conditions.
| Author ID of the login user | Author ID on the dictation device | Upload of dictation Files | Others |
| – | Default value(DS91) | Execute dictation file upload | Automatically change the device Author ID to the Login user Author ID |
| Author ID matches | Execute dictation file upload | If there is an update to Worktype ID/Option Item, transfer to dictation device | |
| Author ID does not match | Do not upload Dictation File | No action | |
Note: Files that have been set to “Pending” status on the recorder will not be downloaded. You
will need to use the Device Configuration Program to configure the recorder. For details, please
refer to the device user’s manual.
2). File Upload from Desktop App (other than Author)
If the Desktop App login ID is a Transcriptionist or Unassigned role “None”
When a user with the Transcriptionist role or None role connects a Dictation device (e.g. DS-9100) via USB to a PC logged into the Desktop App, the Dictation File will be uploaded under the following conditions.
| Author ID of the Dictation Device | Upload of Dictation Files | Others |
| Default Value (DS91) | Execute Dictation File upload | No action |
| Registered in ODMS Cloud | Execute Dictation File upload | No action |
| Not Registered in ODMS Cloud | Do not upload Dictation File | No action |
3). Checking file upload status
You can check the upload status of the Dictation File to ODMS Cloud from your web browser.
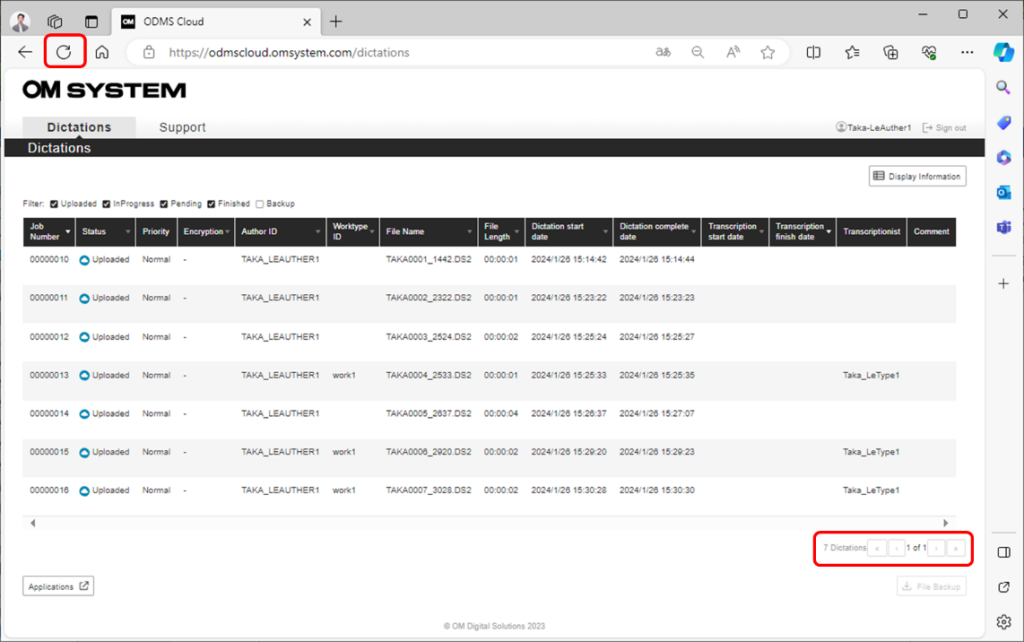
1. Only files that match the logged-in user’s Author ID will be displayed.
2. The Web Browser screen does not update automatically, so please click the Browser update button to refresh the screen.
3. Up to 100 dictations can be displayed on one screen. If the page spans multiple pages, you can switch pages using the advance button at the bottom right.
4. You can also use the filter function and sort function to find the desired file. (Refer to < Dictation Workflow Dictation Information Screen/Filter Function>
4). Edit Dictation File Name.
You can rename the dictation file listed in the “Dictation” tab to suit your needs on handling the dictation files within your workflow.
Move the mouse over the file you want to rename and click [File Property]. In the pop-up window that appears, enter the new file name in the “File Name” field, and press the [Save] button.
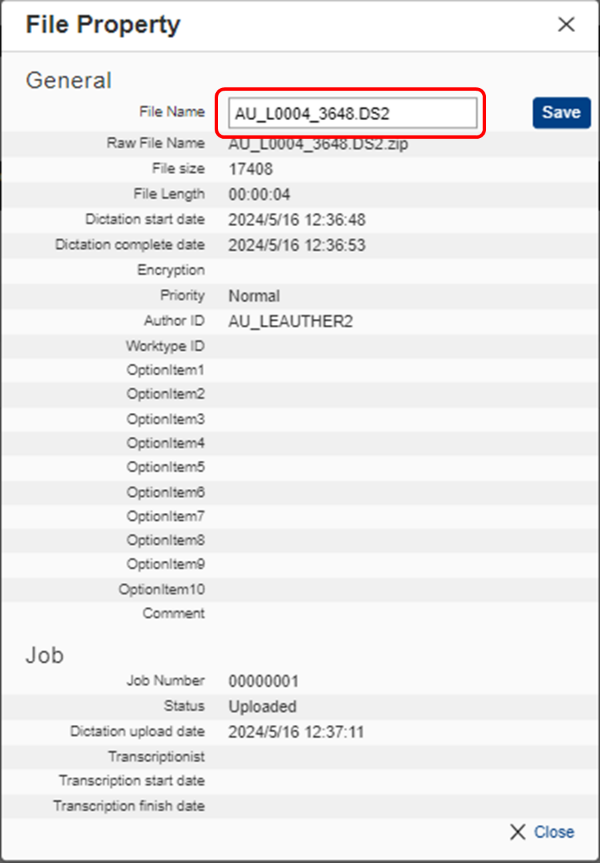
*This operation allows you to change the File Name listed in the Dictation Tab, but the file name saved with the Backup operation will remain as the original file name.
5). Delete Dictation File
You can delete files that are no longer needed in the Cloud. Move the cursor to the file you want to delete, click “Delete Dictation”, follow the pop-up messages that appear, and press the [OK] button to delete the file.
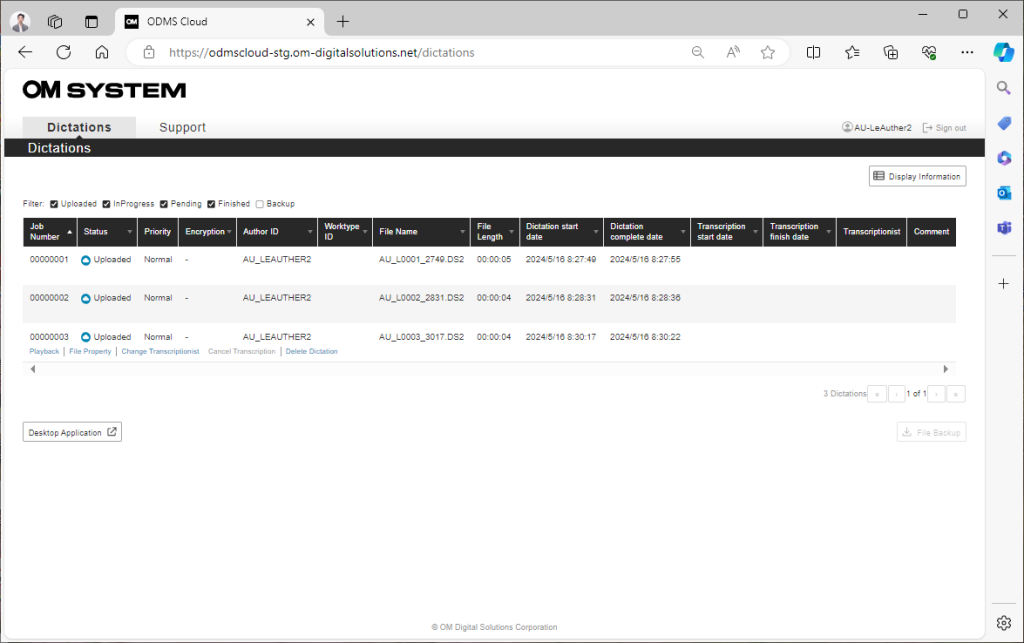
*Only the administrator and the author who created the dictation file can delete the file.
Dictation Files with Pending and InProgress Status cannot be deleted.