
In ODMS Cloud, when the assigned Transcriptionist starts transcribing a dictation file, it is called “checkout”. This chapter explains how to start transcription work.
- Dictations Screen (Transcriptionist)
- Checkout Dictation File
- Desktop App
- Cancel Checkout
1). Dictations Screen (Transcriptionist)
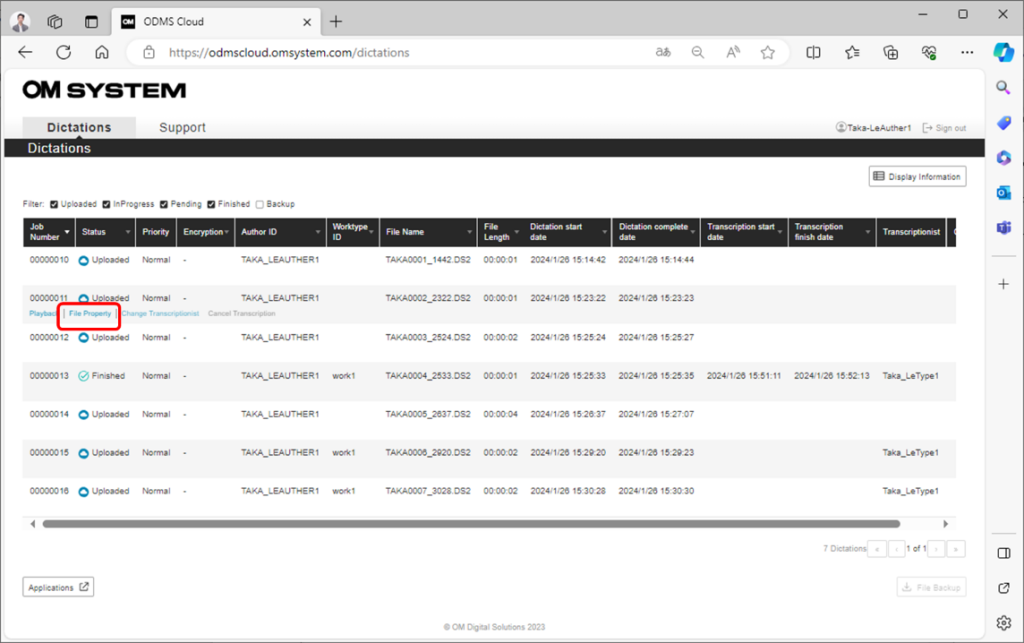
When a Transcriptionist logs into the ODMS Cloud from the Web Browser screen, the Dictations tab will be displayed. The displayed task list will only show tasks that are assigned to the Transcriptionist. The display order of the list can be changed using the Filter function and Sort function. (See < Manual Routing>).
You can also check detailed information about each file by clicking the [File Property] button for each file.
2). Checkout Dictation File
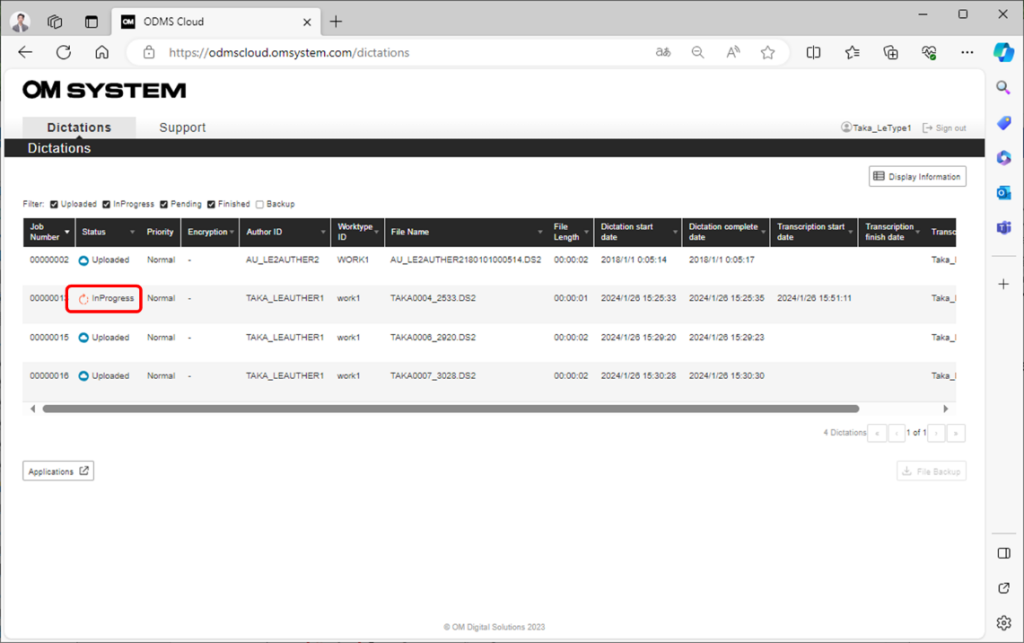
Select the File displayed on the Dictations screen and click [Playback] to play the file. The selected file will be downloaded to the PC and then transcribed using the Desktop App. At this time, the Status will change to “In Progress” and the other Transcriptionists will no longer be able to take control.
3). Desktop App
If the dictation file is successfully checked out, the Desktop App will launch automatically. If template file is set, the template file will also be opened at the same time. For more information on Desktop App, see <ODMS Cloud Desktop App>.

4). Cancel Checkout
You can cancel a task whose status is “In Progress” after checking out a Dictation File and change the task to another Transcriptionist. Select a file that is “In Progress” and click [Cancel Transcription] to return the Status to “Uploaded”. If you want to change the Transcriptionist manually, please refer to < Configure Routing and Automatic Routing Rules/Manual Routing >.