Creating a group can help manage users effectively by simply configuring the settings for the group which will be shared by all the users within the group.
- Click on Workflow menu at the top
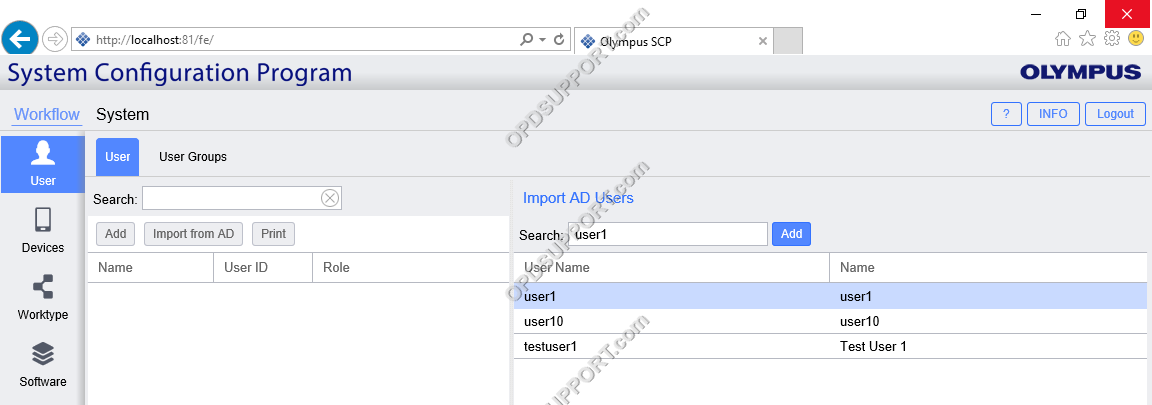
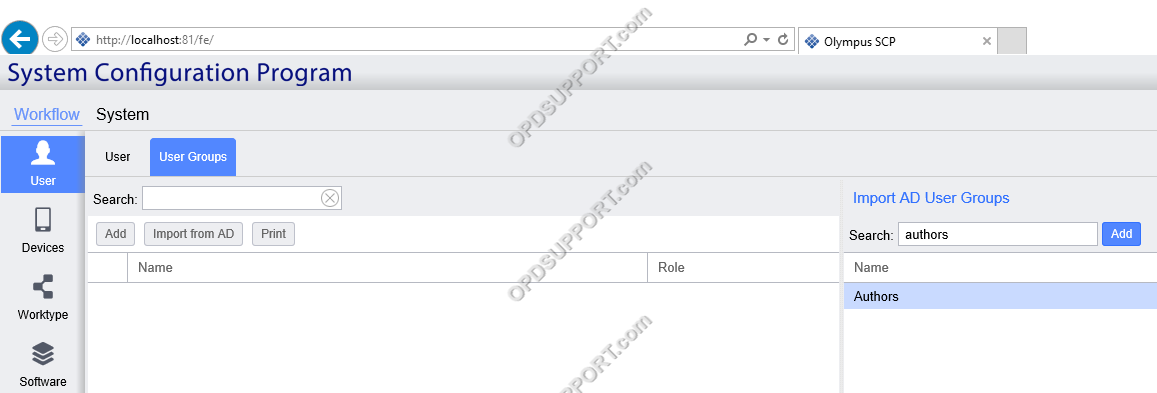
- In the left menu click on User and select User Groups Click on Import from AD
- Type in the group name in the search box and this will populate the list
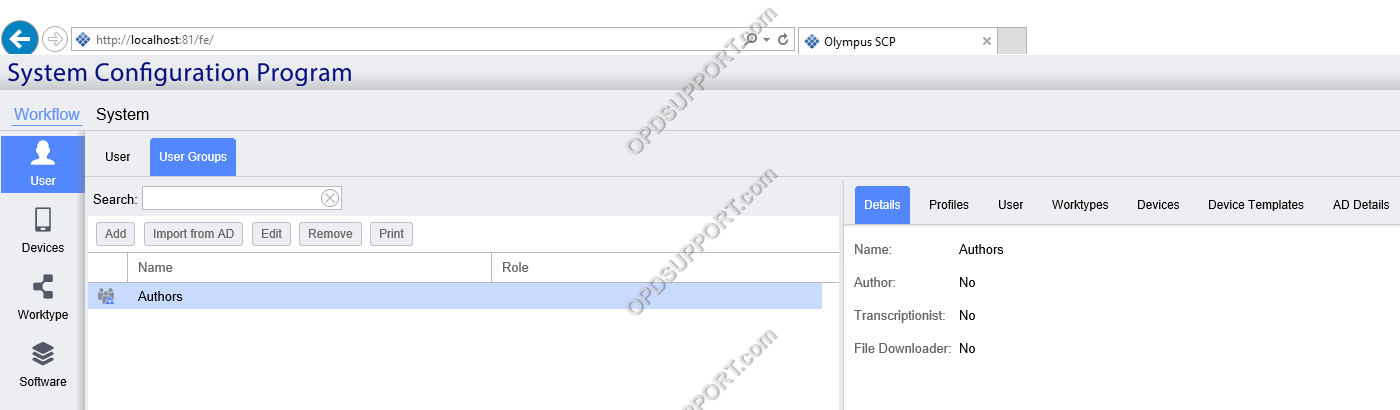
- Select the group(s) in the list and click Add
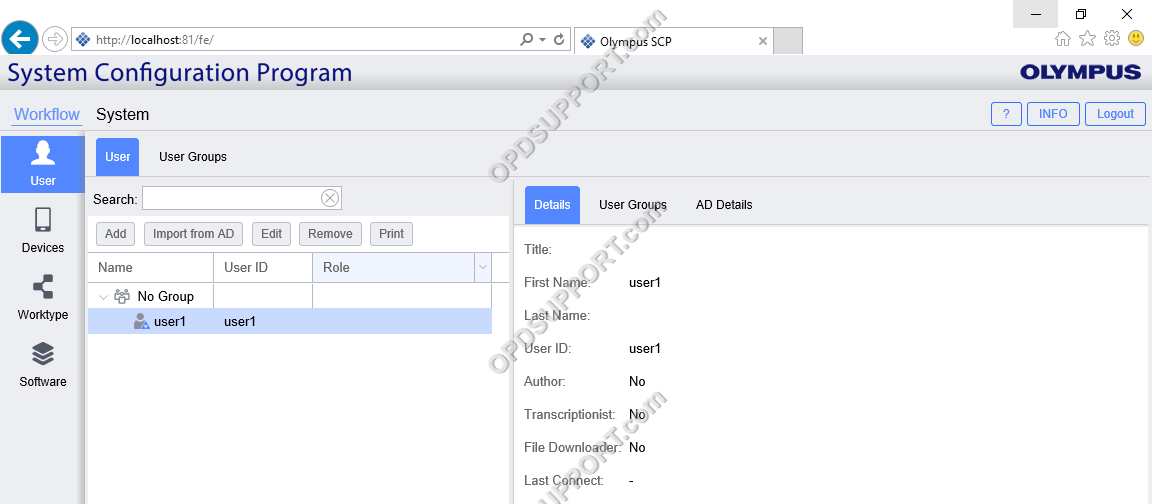
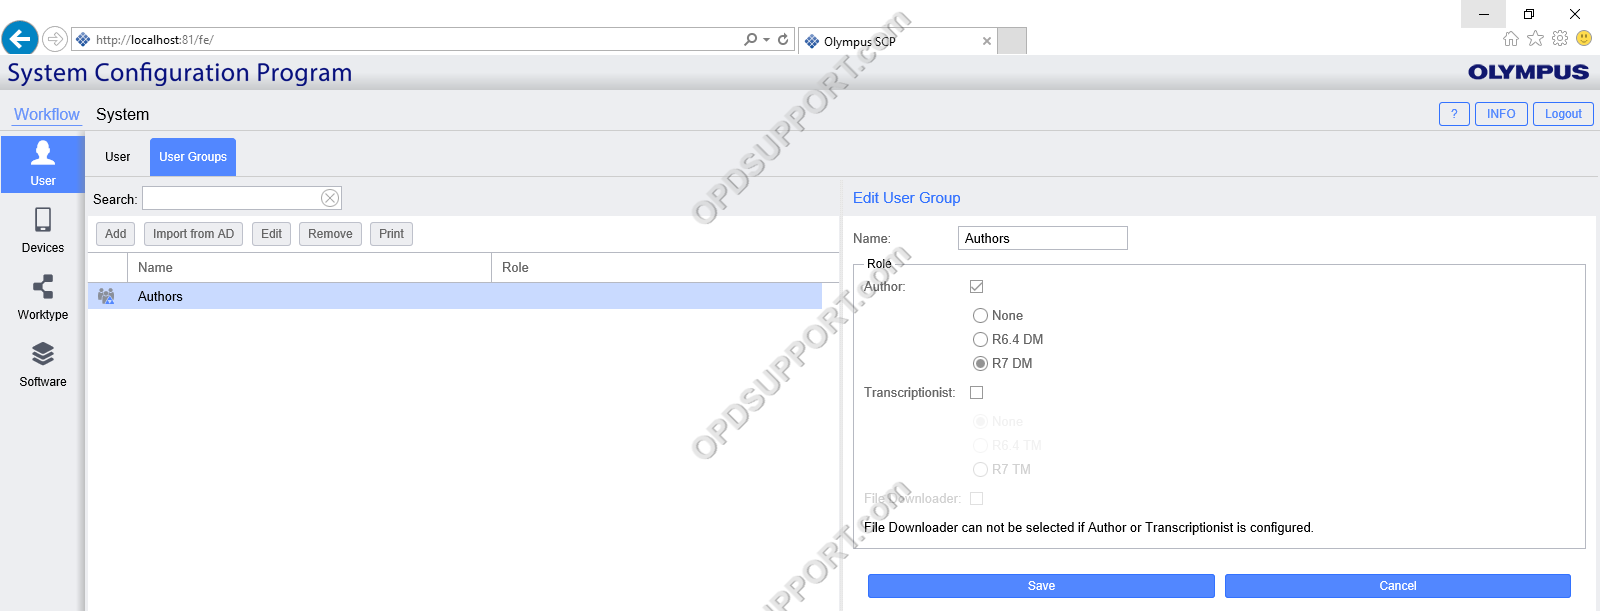
- Once the group has been added its needs to be assigned a role by clicking on Edit.
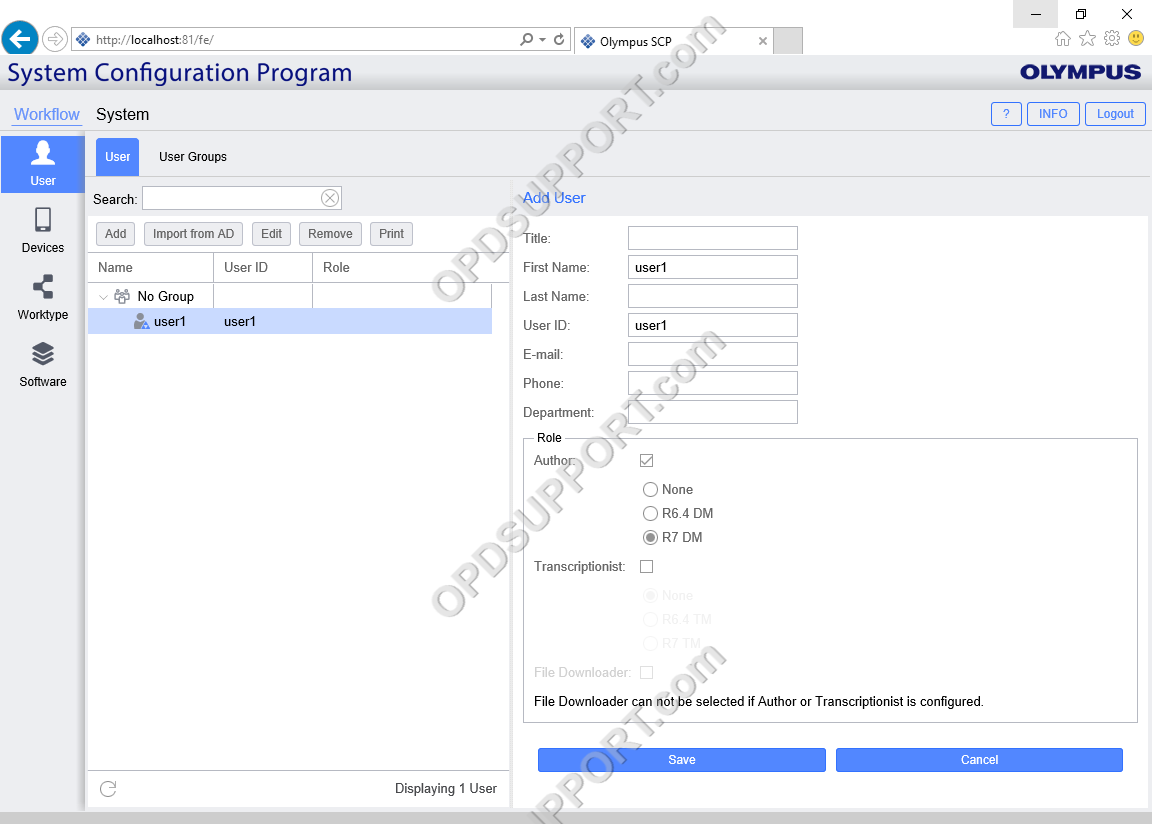
- Tick either Dictation Module, Transcription Module or File Downloader depending on what the group requires.
- Then select the software version.
- Click Save.
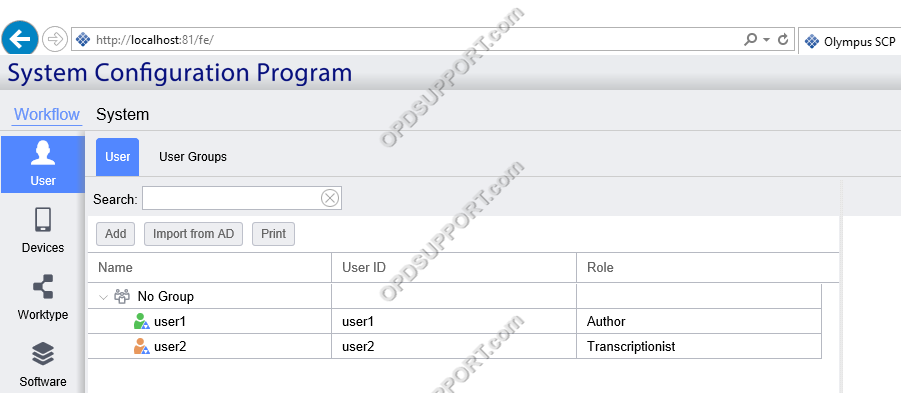
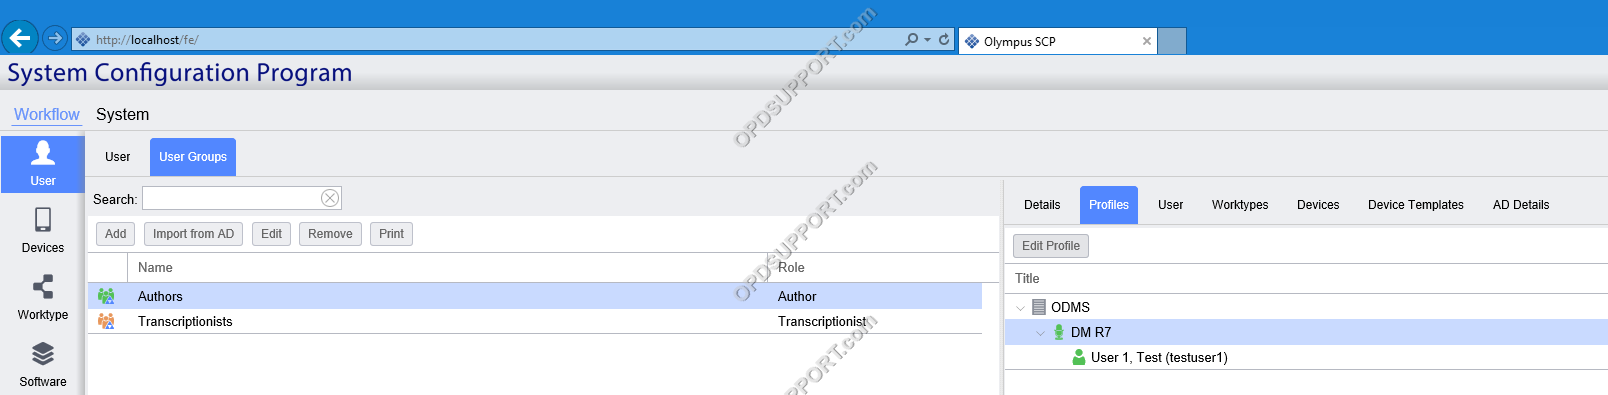
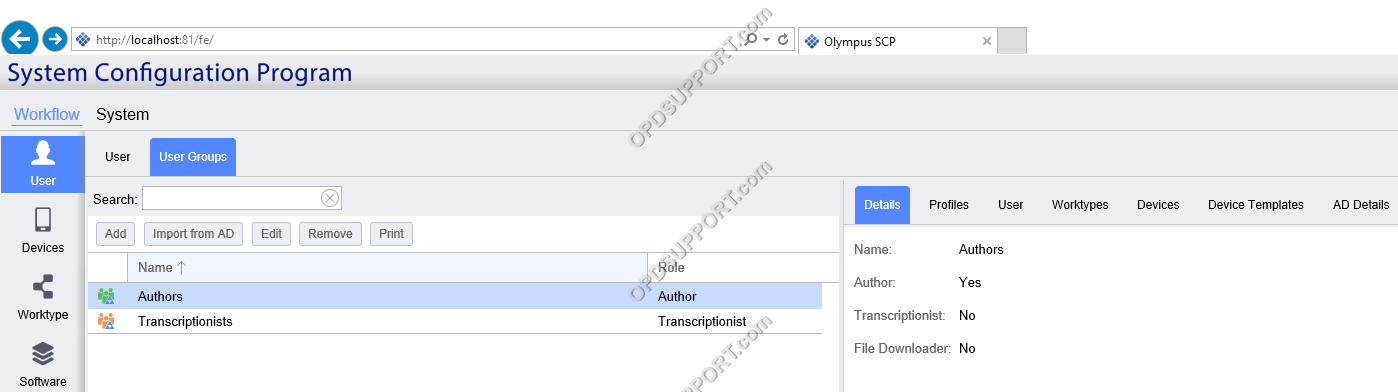
- Once the Role has been assigned you will notice the group icon will change to green for Author or orange for Transcriptionist.
- Now to add users to the group click on User Groups and click on User.
- Click on Assign
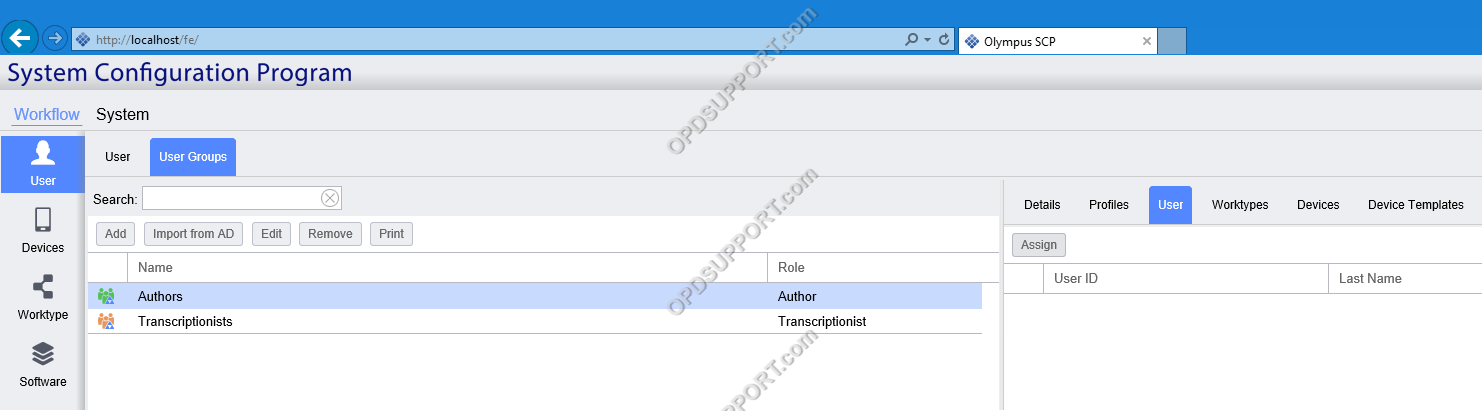
- This will bring up the list of users in the SCP, select the user(s) and click Add to User Group.
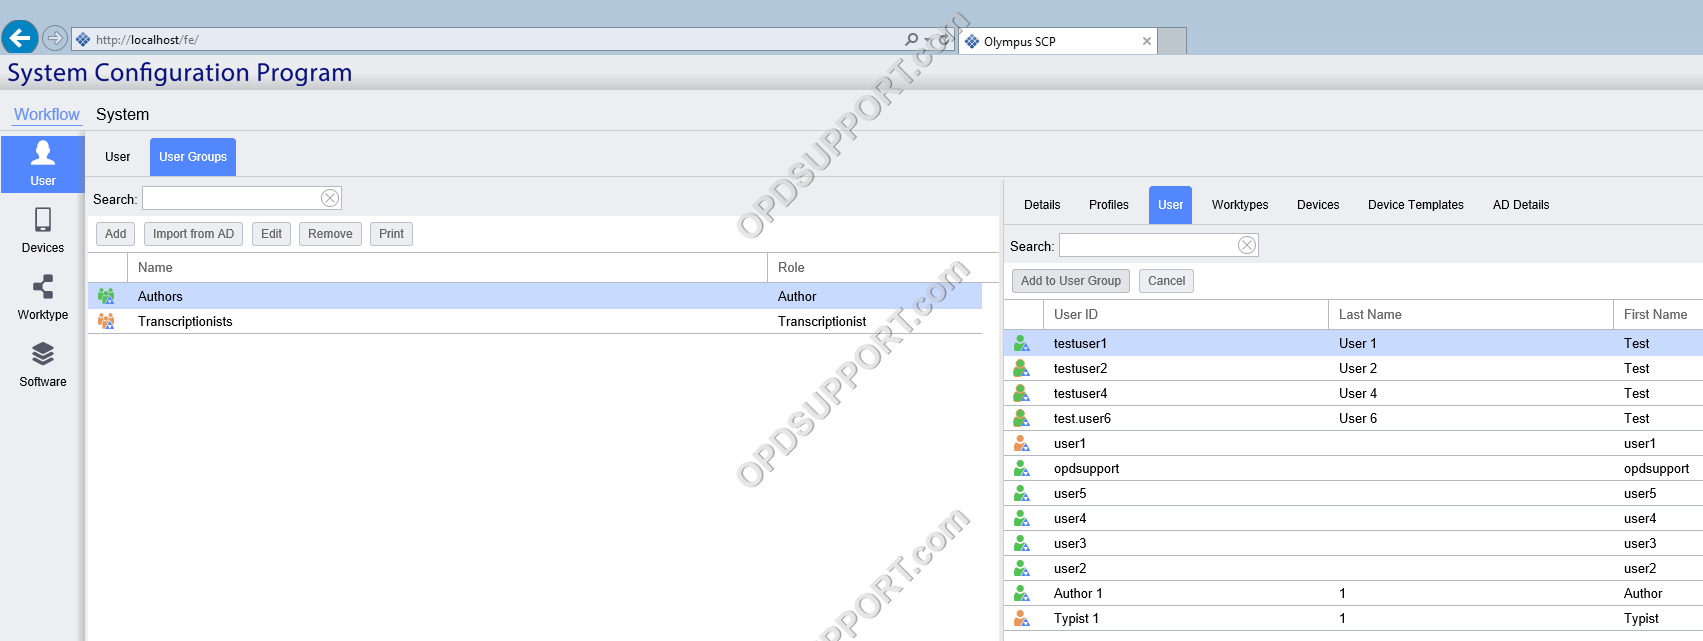
- The user(s) will now appear in the group.