This article goes through how to use the SCP Migration Tool to allow you to manage the ODMS R6 users in the R7 SCP, so they can continue using the ODMS R6 software or switch the R6 user profiles over to R7 user profiles.
- If you want the users to continue using the R6 software but be managed in the R7 SCP, then you need to install the ODMS R640Patch0018 or later, on the ODMS client software. Otherwise you may skip this step and just move on to using the SCP Migration Tool. The patch file can be downloaded separately and then install the patch using the following command line switch “path to your patch.EXE” /c:”PatchInstaller /o”. Alternatively, the patch and batch file can be found in the ODMS Workgroup SCP_Migration folder.
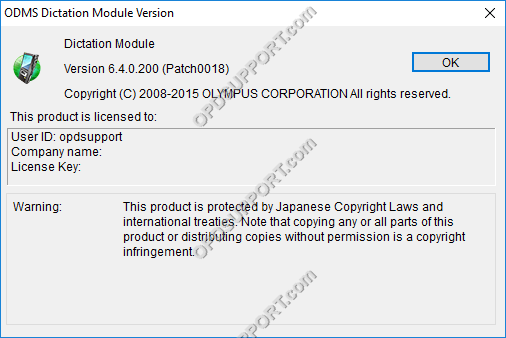
- Once installed you will notice the Change Repository option is greyed out to let you know that it is being managed by the R7 SCP.

- Install the SCP Client, found in the Setups folder.
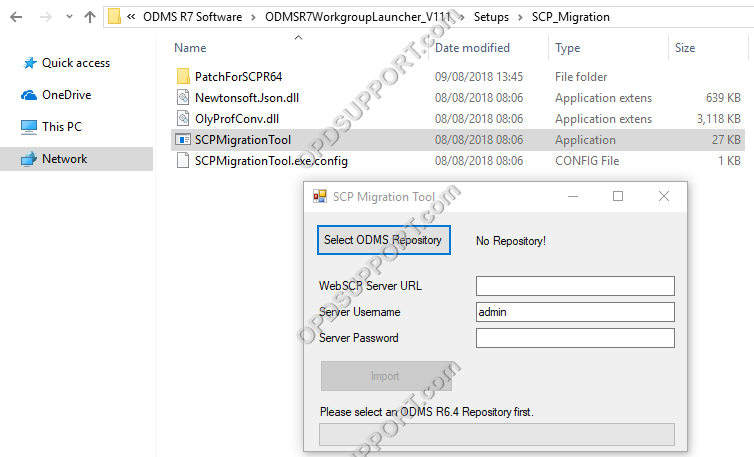
- Open the SCP Migration Tool found in ODMS R7Workgroupvx.x.x\ODMSR7WorkgroupLauncher_vxxx\Setups\SCP_Migration.
- Click on Select ODMS Repository.
- If you are not sure where the repository is then access the computer which has the R6 SCP installed and check the following registry locations:
- Repository Folder – Computer\HKEY_LOCAL_MACHINE\SOFTWARE\WOW6432Node\Olympus\ODMSR6\System Configuration Program\Repository\1
- Repository Service – Computer\HKEY_LOCAL_MACHINE\SOFTWARE\WOW6432Node\Olympus\ODMSR6\Repository Service\Repository
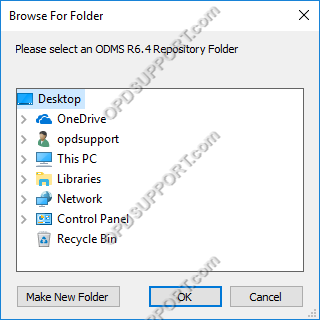
- Browse for the ODMS R6 repository and click OK.
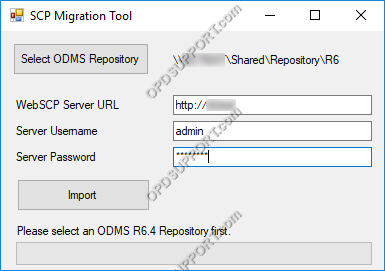
- Specify the WebSCP server URL and fill in the Server credentials.
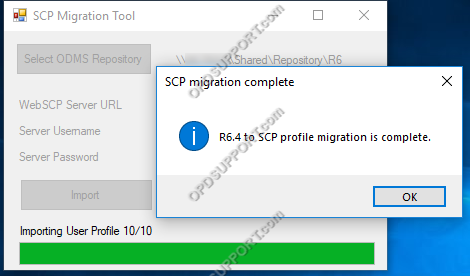
- Click Import to begin migrating the users and groups
- Click OK once the migration is complete.
- The R6 users and groups will now appear in the R7 WebSCP for you to manage.
Please follow the next guide on configuring the users and groups.
