The ODMS layout can be customised in many different ways such as hiding columns, changing dictation colour and moving toolbars. This guide will demonstrate how the GUI can be configured.
Contents
1 – How to show/hide sections within ODMS
2 – Changing Column Width
3 – Moving Columns
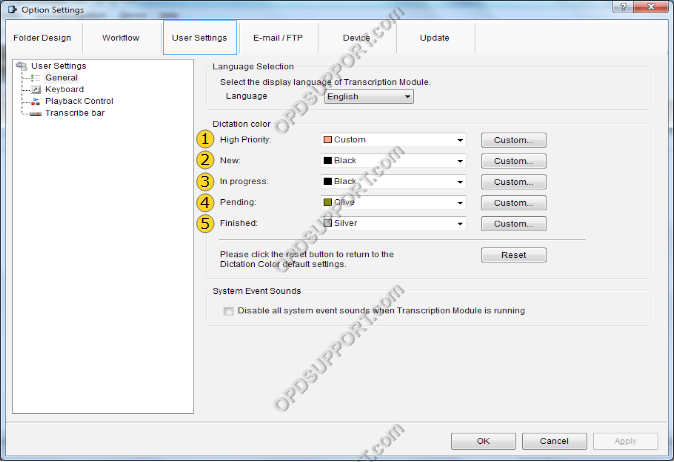
4 – Changing Dictation Colours
5 – Moving Toolbars
How to show/hide sections within ODMS
This section details how to show or hide certain sections within the ODMS software.
The marked buttons in the image below show which buttons to press to show/hide sections within the ODMS software.
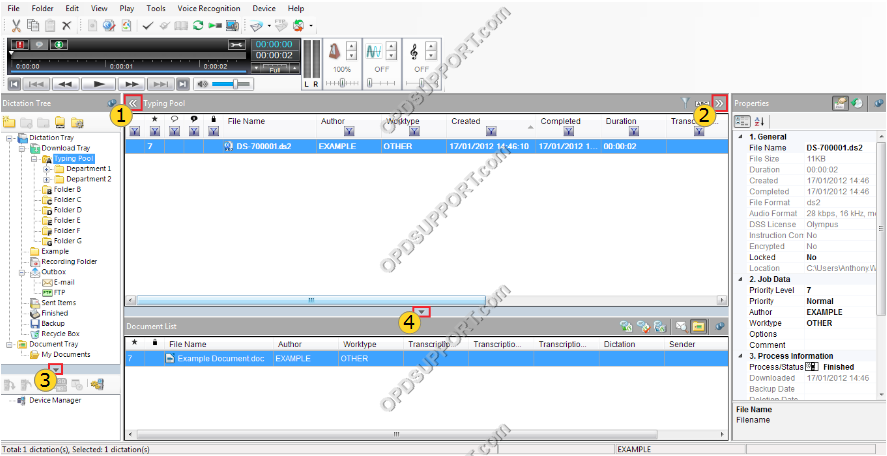
Show/Hide
- Dictation Tree
- File Properties
- Device Manager
- Documents List
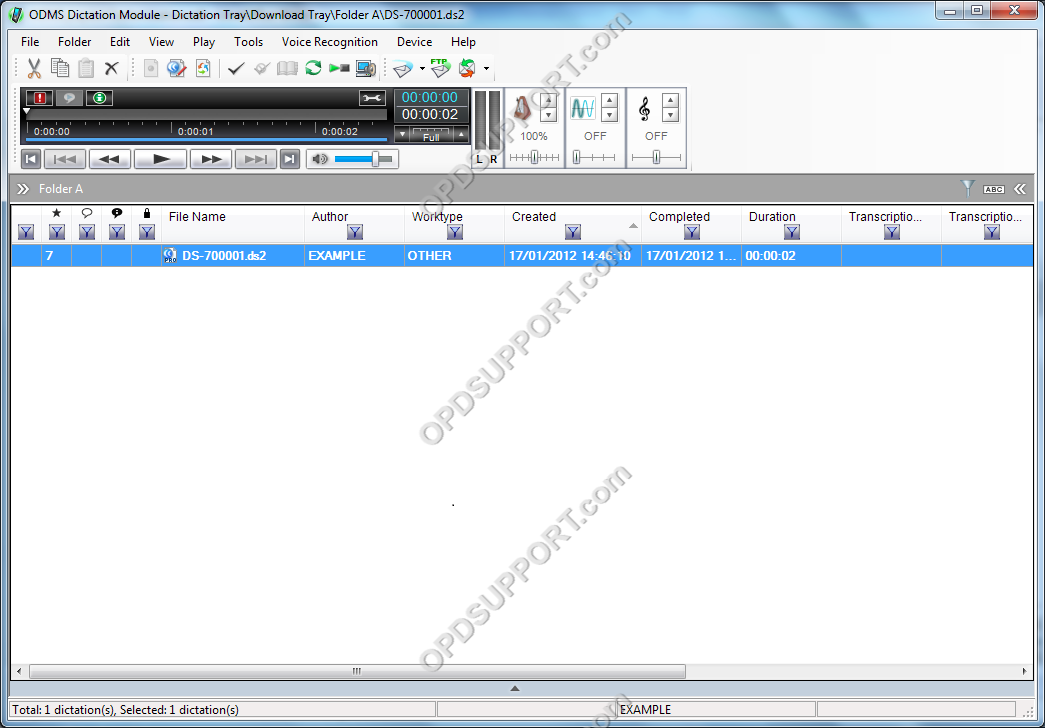
All sections hidden
Changing Column Width/Height
- Hover the mouse cursor over one of the area’s pointed out by the red lines on the image below until the cursor appears.
Cursor:![]()
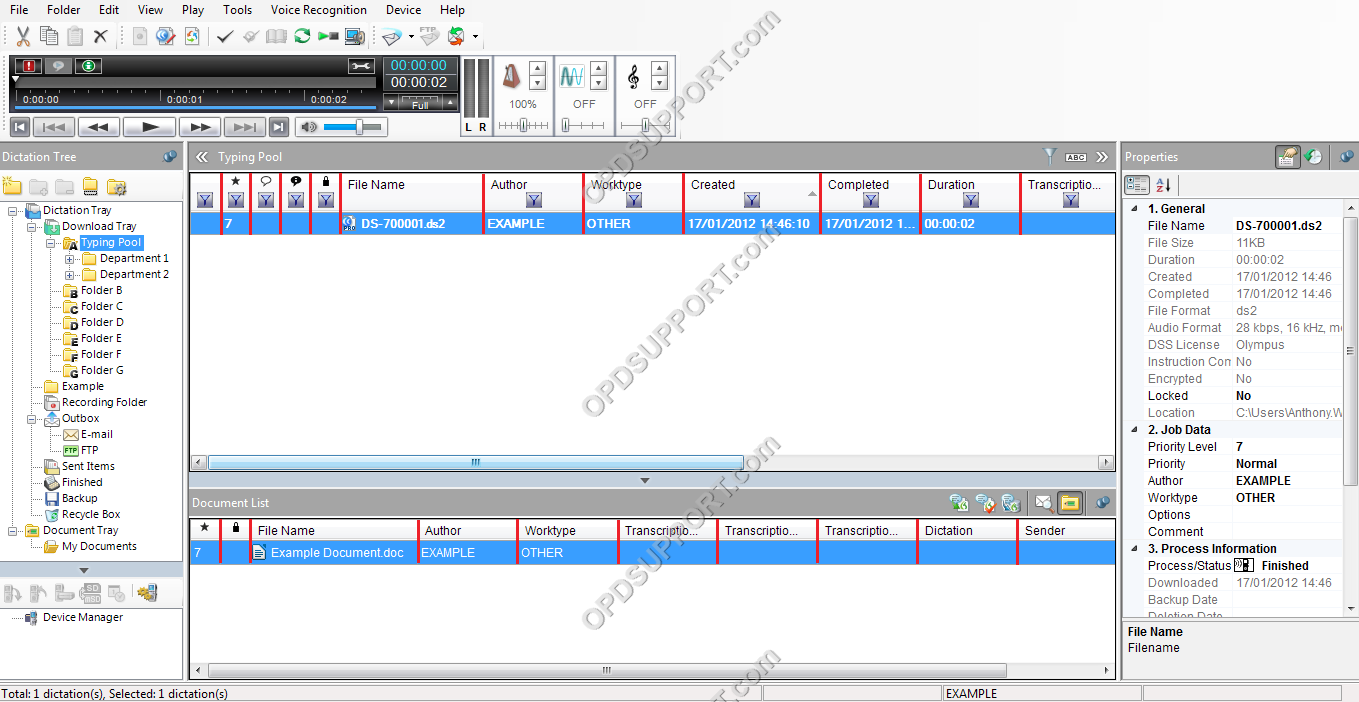
- Left-click and hold.
- Drag the mouse left or right to increase/decrease the width of a column, then let go of the mouse to set the width.
Moving Columns
To move a column, left-click and hold.

Then drag the mouse left or right to move the column as shown.

Changing Dictation Colours
NOTE: These features are only available for the ODMS Transcription module software.
Click on Tools > Options > User Settings > General
Moving Toolbars
Toolbars can be enabled/disabled and moved to suit a users desired layout. Click on View > Toolbar.
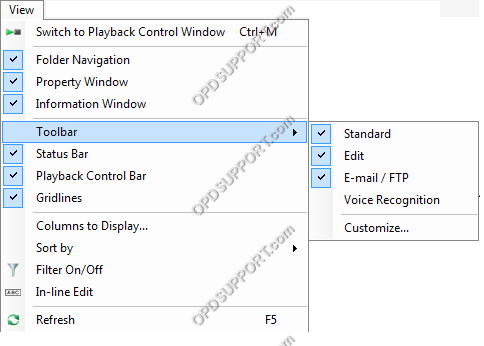
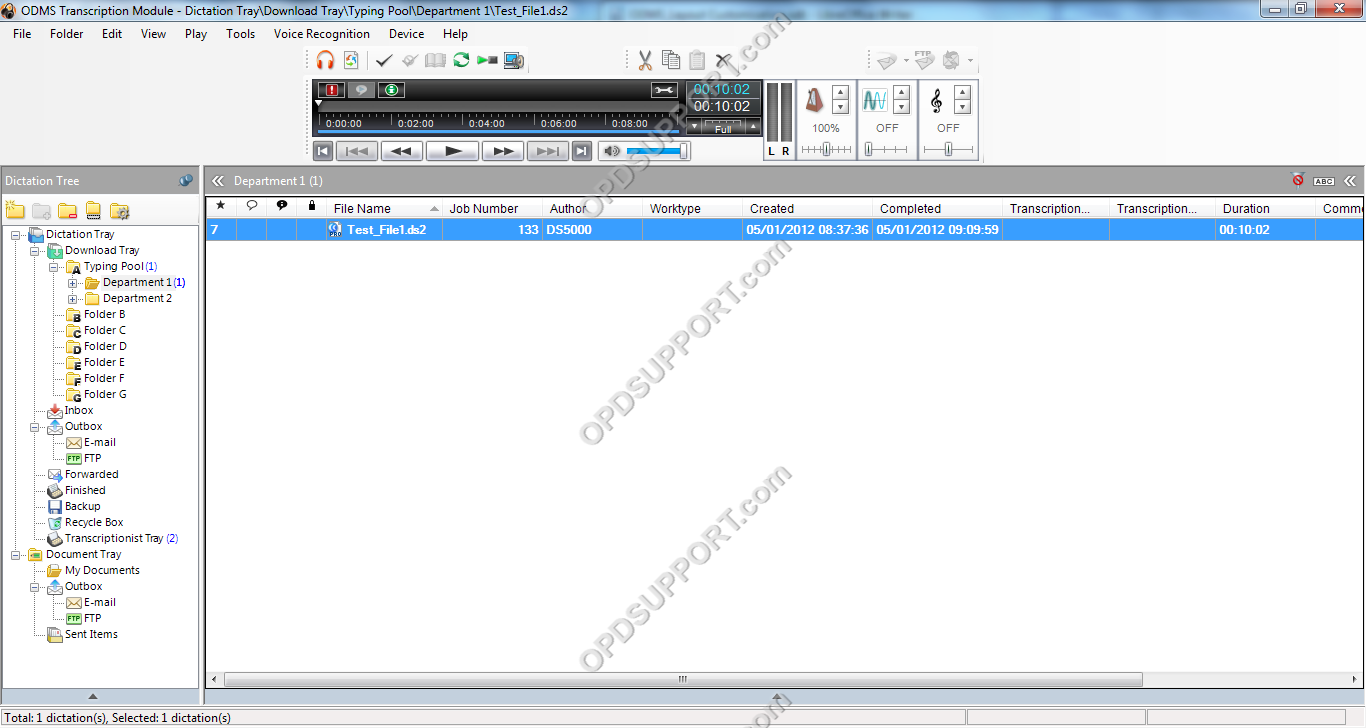
To move a toolbar, simply left-click on and hold, then drag the mouse cursor to a position in the top bar within the Olympus software to reposition the toolbar, then let go of the left mouse button to place.
An example of a changed toolbar layout is shown below.
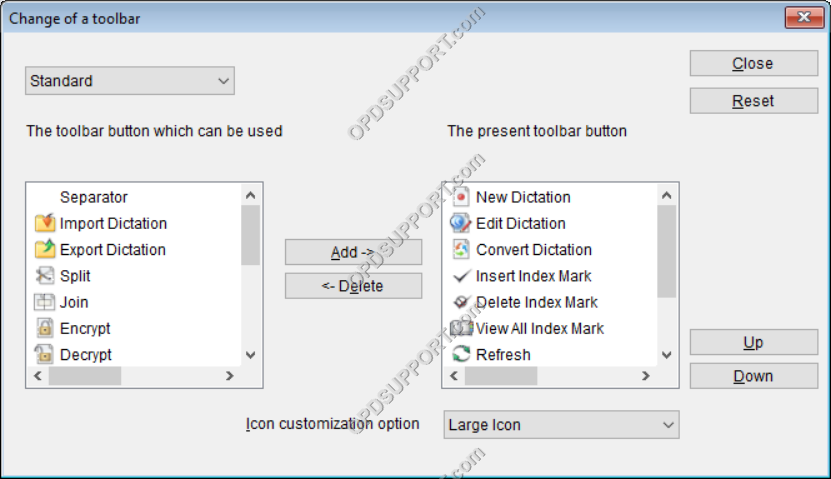
You can also customise which buttons show by clicking on View > Toolbars > Customize.
