The ODMS Cloud provides a system for efficient dictation workflow. You can specify a Transcriptionist for each author (routing rule settings) or specify a Transcriptionist for each work type (worktype ID settings). Additionally, by registering the template file used for transcription, you can create standard documents.
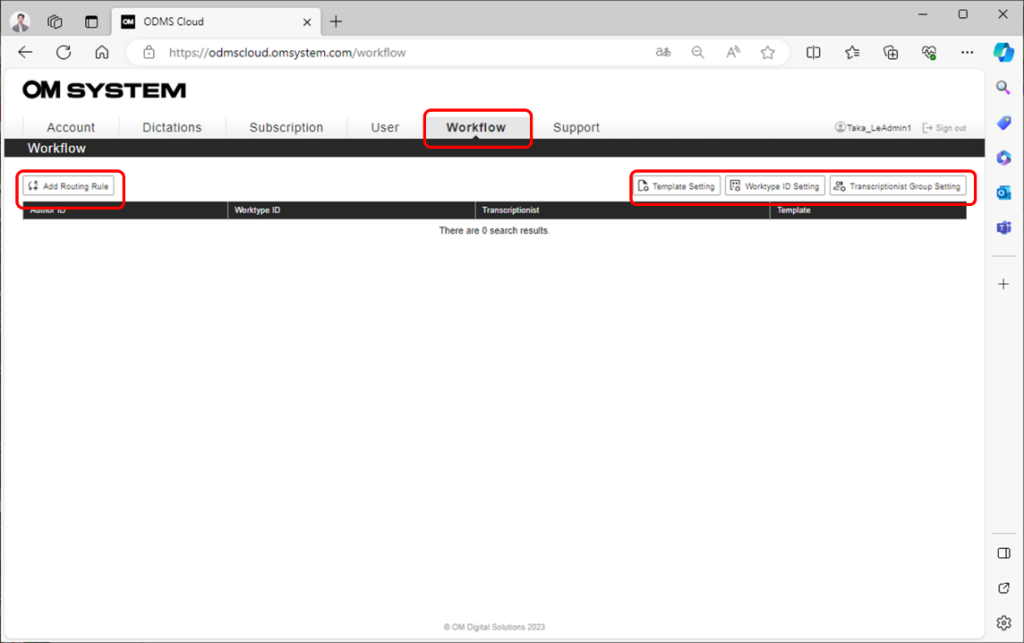
Select the [Workflow] tab and click the button corresponding to the operation.
This page is broken down into the following sections:
- Configuring Transcription Group
- Configuring Worktype ID/Option Item
- Registering Template File
- Setting Routing Rule
- Using Worktype ID
1). Configuring Transcription Group
Registering a Transcriptionist to a Transcriptionist group is useful when setting specific transcription rules for each group. Group registration is recommended if several Authors are assigned to the same Transcriptionist group.
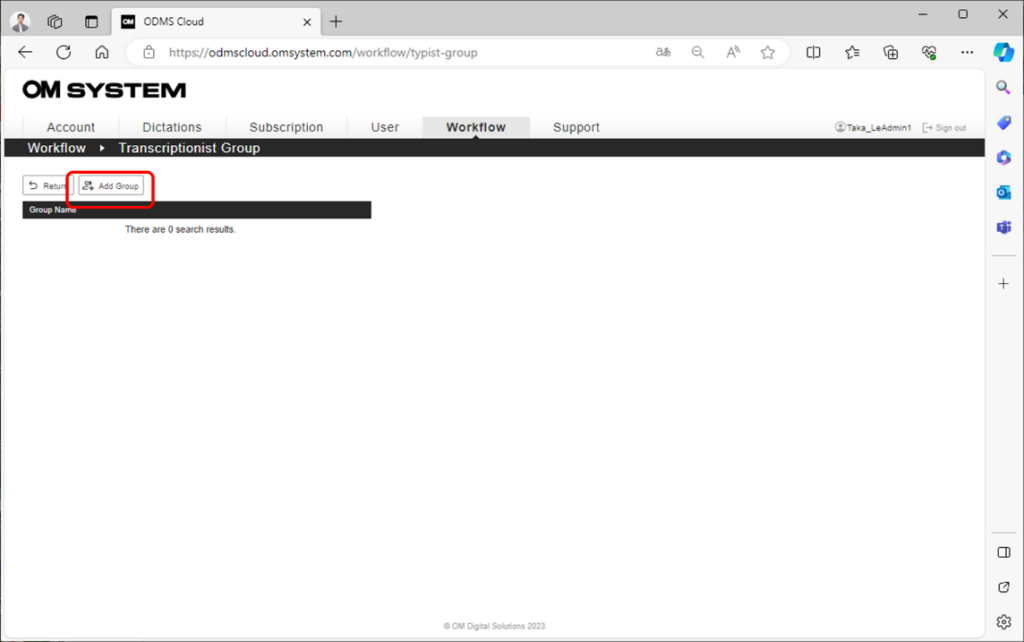
- Click the [Add Group] button to register the group.
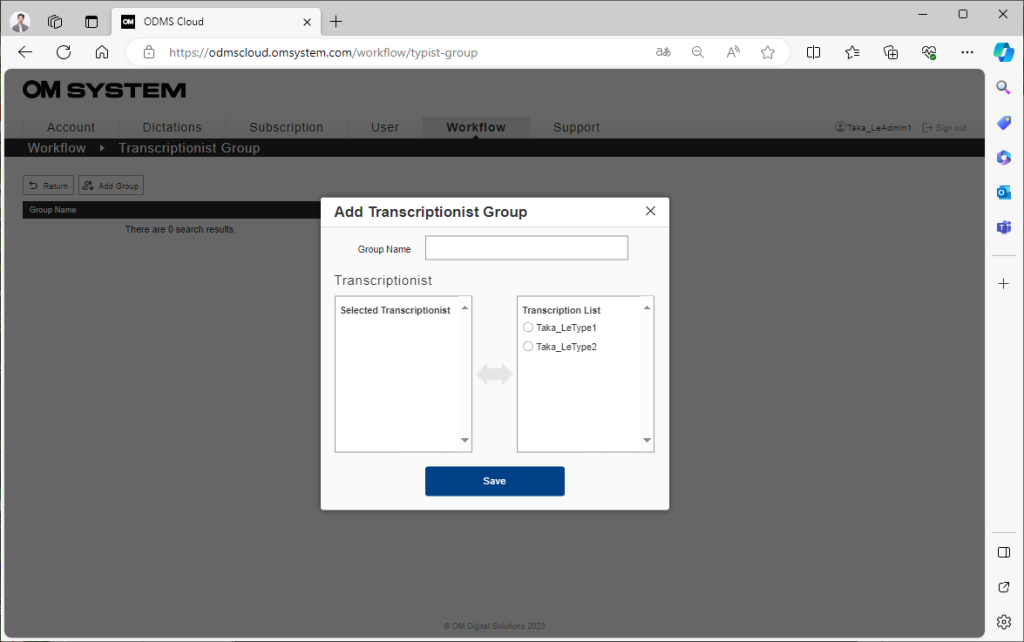
- Enter the Group Name.
- Transcriptionists that can be registered will be displayed in the “Transcriptionist List” on the right. Click the user you would like to register. They will be moved to the “Selected Transcriptionist” on the left.
- When you have finished selecting registered users, click the [Save] button to complete the registration to the system. The status after group registration will be listed on the Transcriptionist Group screen. If you would like to change the group members, click the [Edit] button to edit.
If the registered Transcription Group is no longer needed, you can delete the group by pressing the [Delete] button.

2). Configuring Worktype ID/Option Item
Worktype ID and Option Item are IDs used to classify recorded Dictation files. Worktype ID can be defined as any character string, such as the department name or the category name of the file to be recorded. Option Item is used to embed more detailed information to the Worktype ID. By using this Worktype ID, you can set routing rules for each type of work.
*DS-2600/DS-2700 does not support Worktype ID/Option Item. Please contact your Dealer for details.
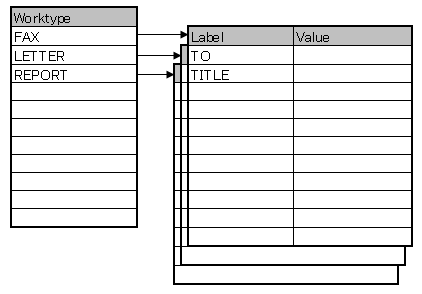
The ODMS Cloud allows you to register up to 20 Worktype IDs for each account. Up to 10 Option Items can be registered for each Worktype ID. The following image shows the relationship between Worktype and Option Item. This example shows Worktype ID “FAX” with “TO” and “TITLE” registered as Option Items.
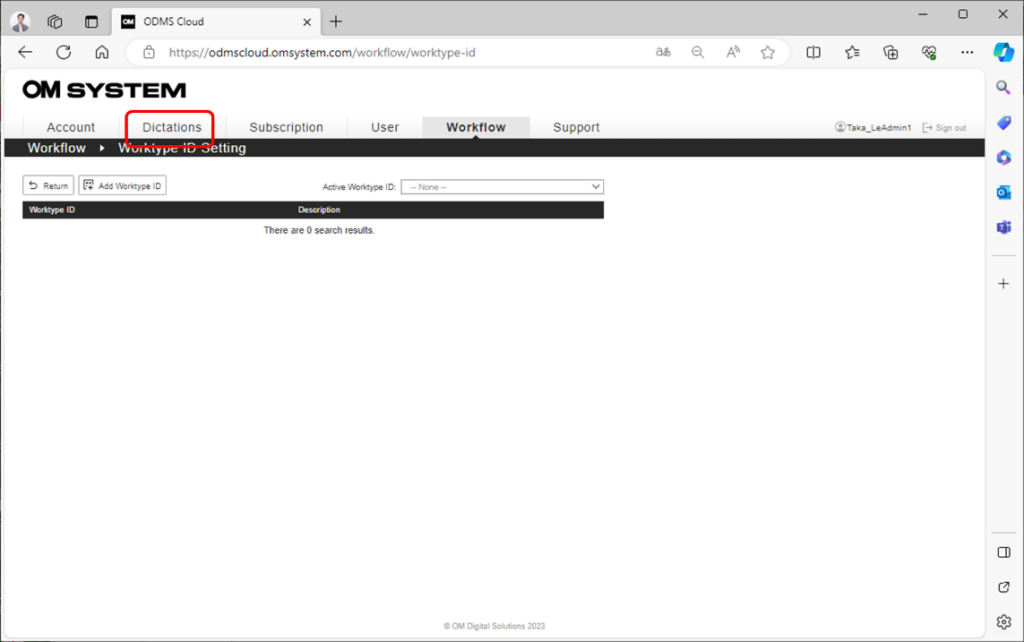
- Click the [Worktype ID Setting] button to open the Worktype ID setting screen.
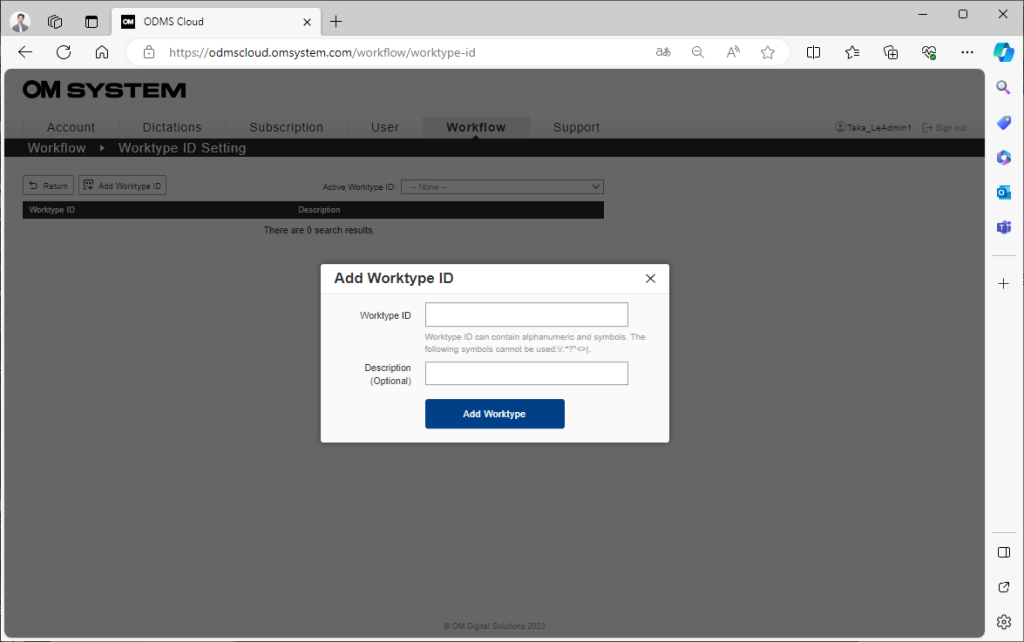
- Click the [Add Worktype ID] button to register the Worktype ID. At this time, you can add the description.
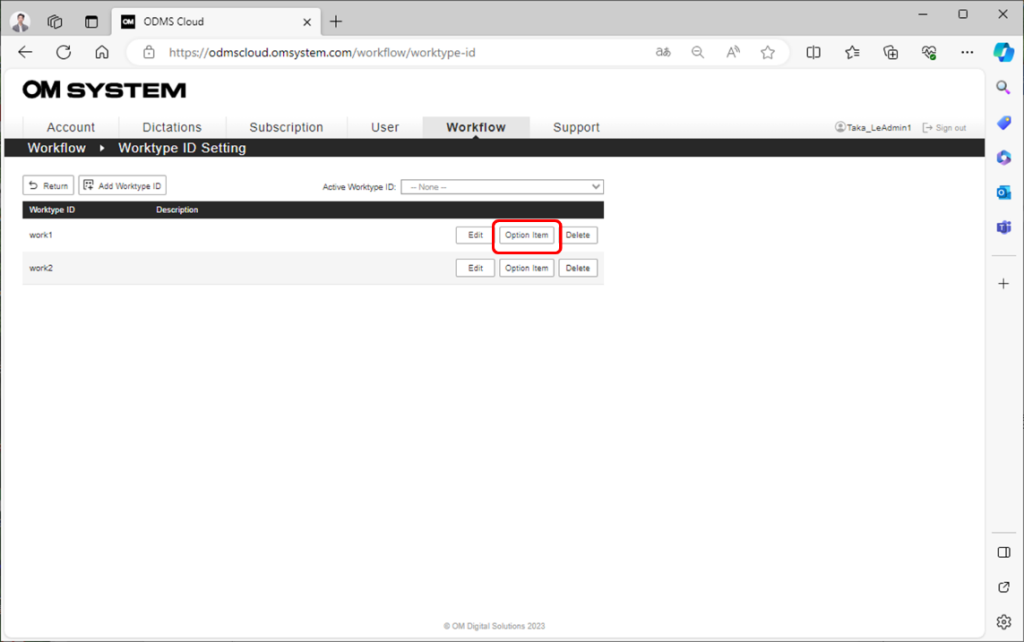
- After you register the Worktype ID, it will be displayed in the list and the [Option Item] button will be displayed. If you want to register an Option Item, click this button to open the registration screen.
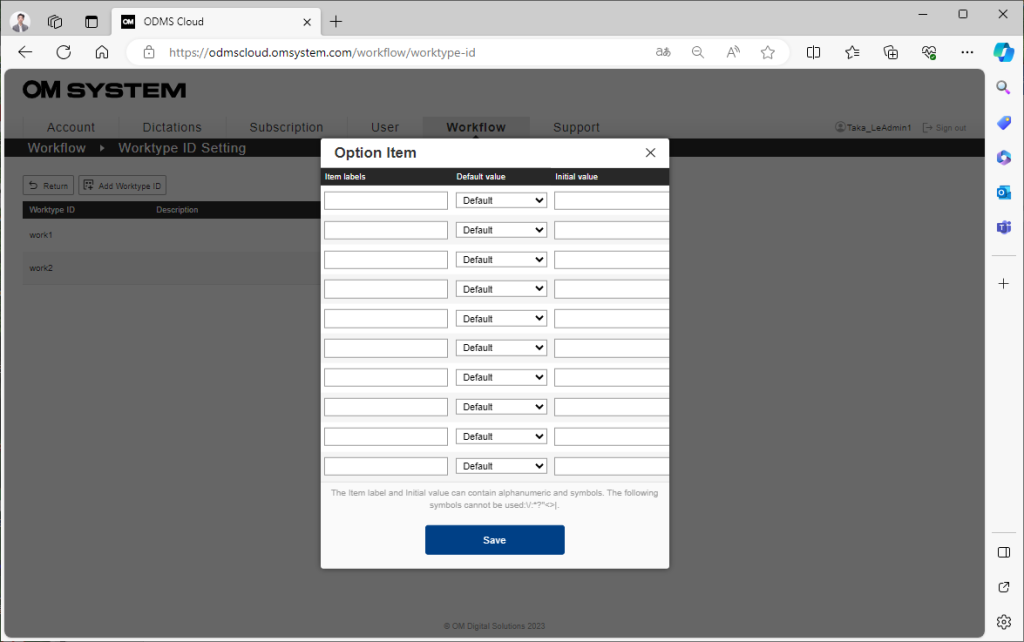
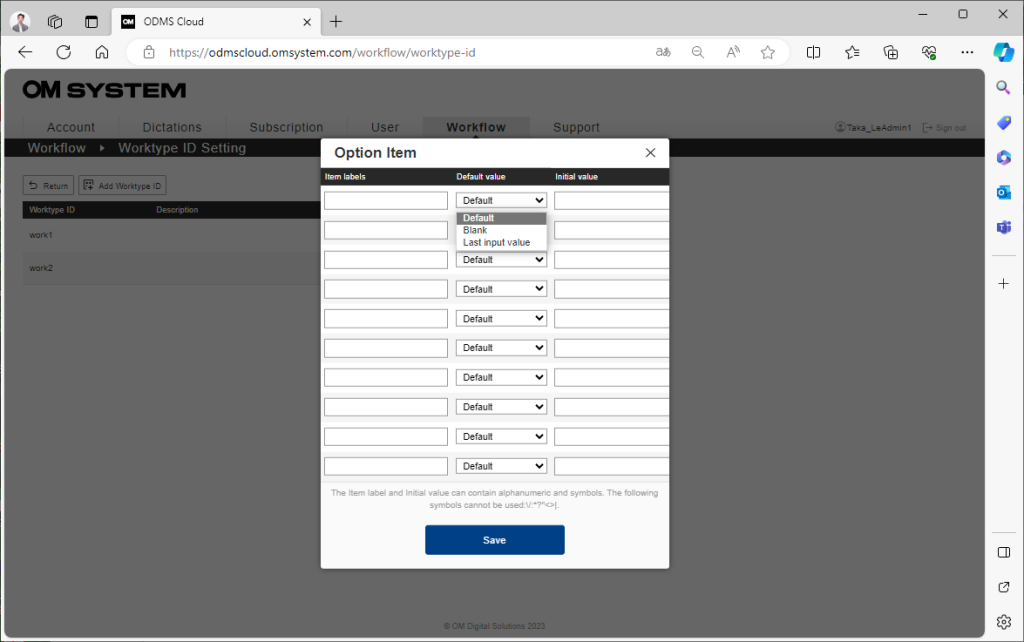
You can set an initial value for each Option Item. When the Option Item input screen is displayed on the recorder, the set value will be automatically entered. Select the initial value type from the pull-down.
- Default: Select when specifying an arbitrary initial value. Set the initial value in the “Initial value” field.
- Blank: Select when not using the initial value.
- Last Input: The previously entered Option Item will be entered as the initial value.
- When the input is complete, click the [Save] button to complete the registration.
3). Registering Template File
Template files for transcription can be registered for each routing rule set by Author ID and/or Worktype ID. The registered template file can be automatically opened when the Transcriptionist plays back the dictation file assigned according to the routing rules for transcription. (Application software that supports the registered file format must be installed on the Transcriptionist PC.)
- Click the [Template Setting] button to open the Template List screen.

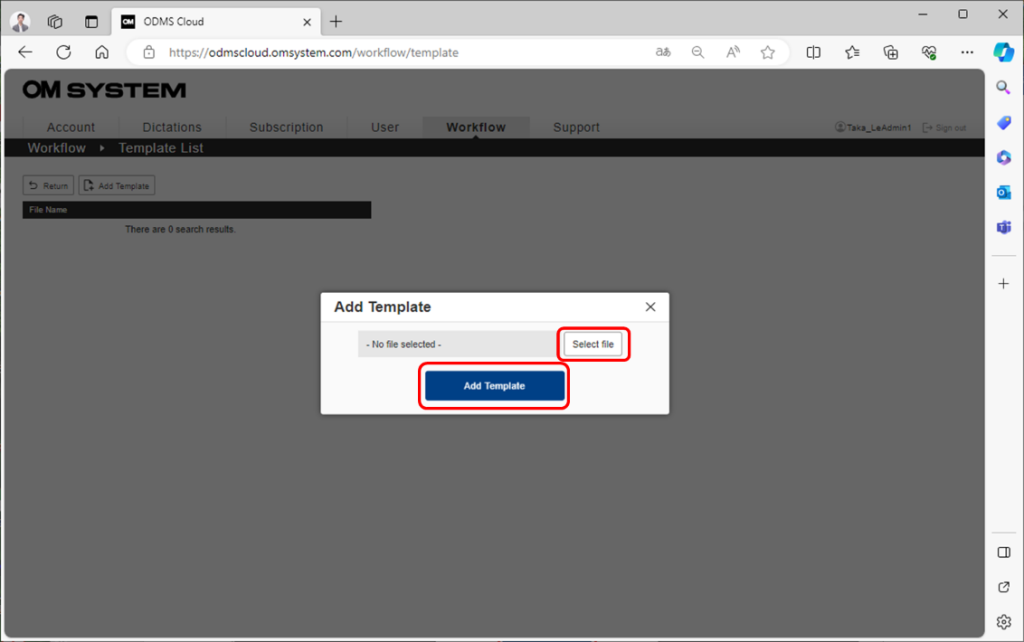
- Click the [Add Template] button to register the Template File.
Click the [Choose File] button to open the browse screen and select the template file to register.
After selecting the file, confirm the registration by clicking the [Add Template] button.
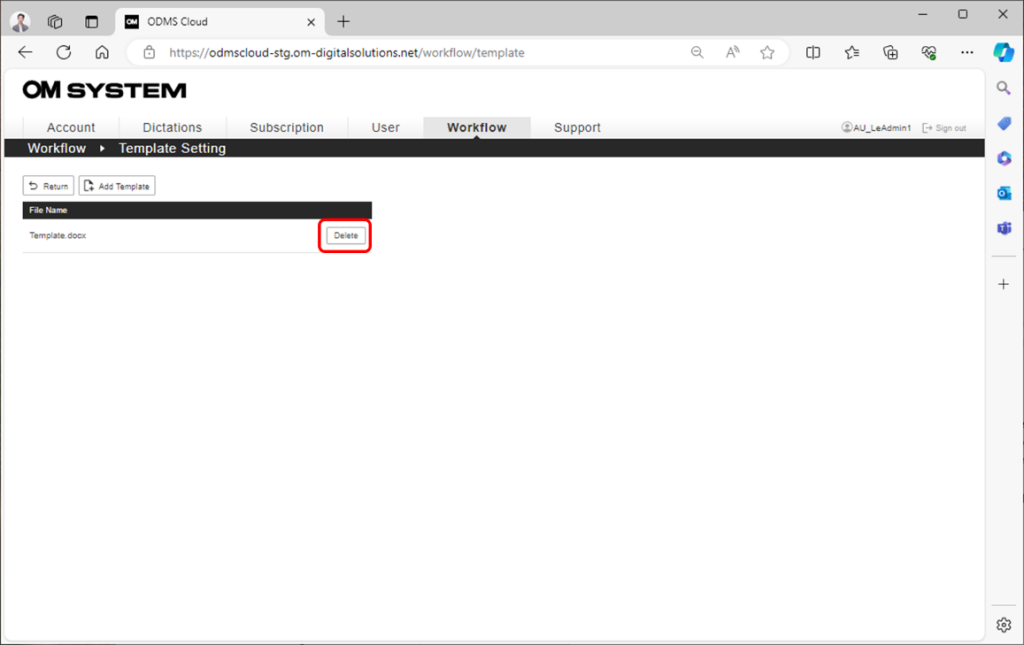
To delete a registered file, select the file you would like to delete from the template files displayed on the Template List screen and click the [Delete] button on the right side.
However, in the following cases, you cannot delete the Template file registration.
- There is a routing rule associated with the template file to be deleted.
- There is a task that is in the process of being transcribed in the routing rule that is associated with the Template file to be deleted.
4). Setting Routing Rule
The ODMS Cloud provides a system for efficient dictation workflow. You can automatically allocate the task to a Transcriptionist based on the Author ID or use a combination of the Author ID and Worktype ID to allocate precisely. It is also possible to register a Template file to be used by default for each routing rule, making it possible to create standard documents more efficiently.
- Click the [Add Routing Rule] button to open the Routing Rule settings screen.
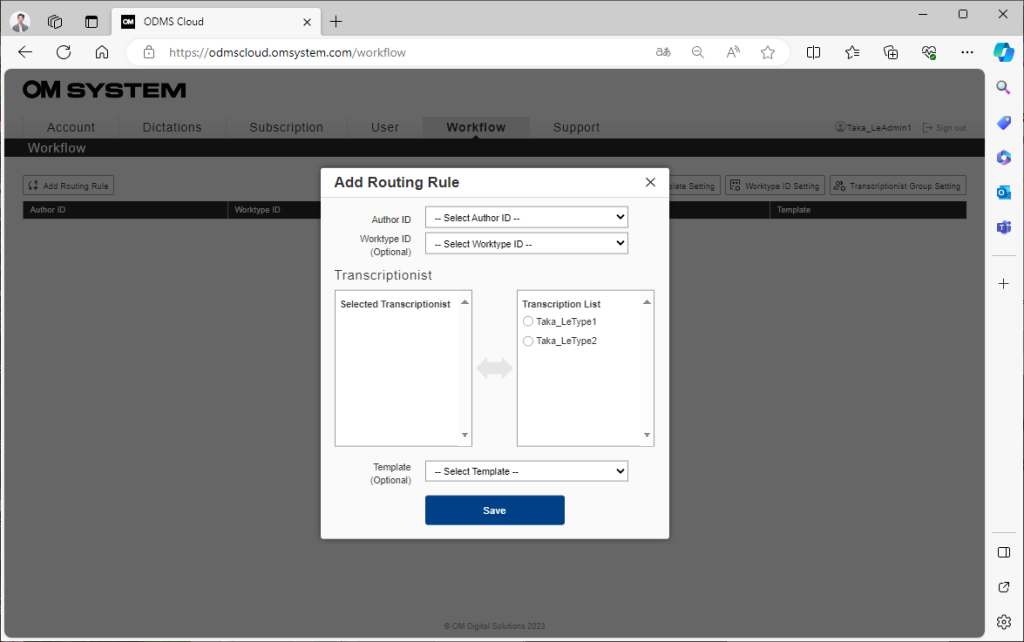
- Select the Author ID. (mandatory)
- Select a Worktype ID (optional). By setting the Worktype ID, you can set a workflow for an Author’s dictation based on different types of Worktype ID to be allocated to different Transcriptionist or Templates. *Please note that in case a WorktypeID is not selected, that routing rule will not be applied to files with a WorktypeID.
- Select the Transcriptionist to be assigned from the Transcriptionist List and move it to Selected Transcriptionist by clicking on the name.
- If necessary, specify the Template file to be used for transcription. (Template file must be registered in advance. See <3 Registering Template File> above.
- After completing the input, click the [Save] button to complete the registration.
5). Using Worktype ID
The Worktype ID corresponding to the rule created for each Author in <2.8.4 Setting Routing Rules> is transferred to the Recorder used by each Author. When it is transferred, only the Worktype ID used in the routing rule will be transferred. Setting information such as Worktype ID is automatically transferred when the Recorder is connected to a client PC via USB. For details, refer to <12 Dictation Device Settings/Transferring Worktype ID and Option Item>.
Worktype ID can be selected from the list before starting Dictation. By enabling “prompt” in the User information, you can automatically display the Worktype ID list when starting a new recording, such as when clicking the New button. Please refer to <6 User Registration> for the “prompt” of user information.
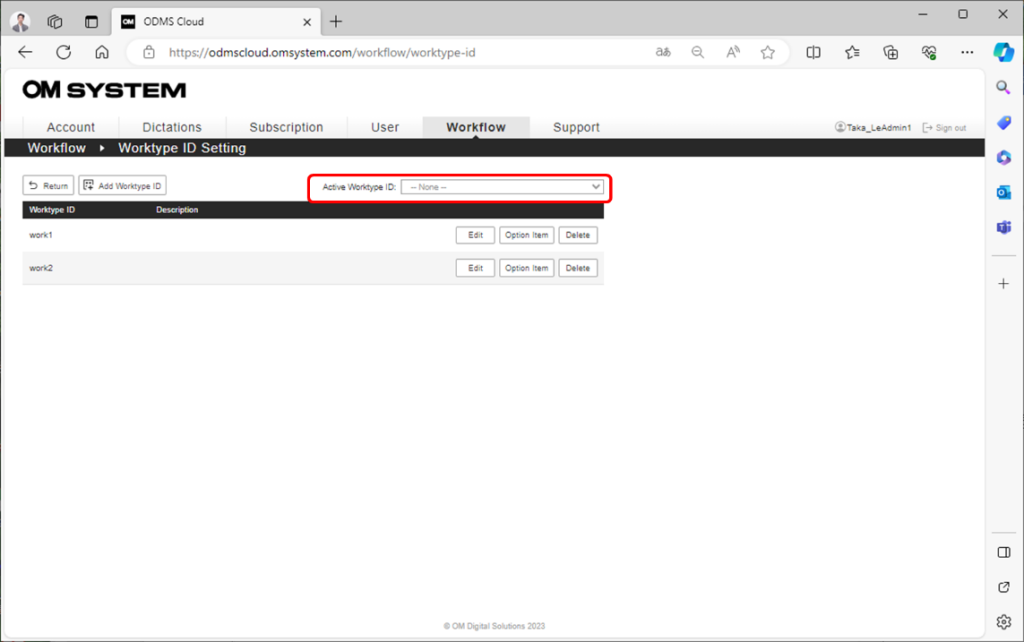
Also, by setting “Active Worktype ID”, you can specify the cursor line of the Worktype ID from the list that will be displayed when starting a new recording. If you select Worktype ID on the Dictation Device, the next selected line will be changed to that ID. If “Active Worktype ID” is not set, the Worktype ID at the top of the list will be selected.
If you do not enable “prompt” in the User information and transfer the Worktype ID to the Recorder, the Worktype ID at the top of the list will be automatically selected and a new recording will be made. To specify the Worktype ID to be automatically selected. Please specify from the “Active Worktype ID”.
*If you specify a Worktype ID in the recorder’s menu operation, only that file will be valid, and from next time onwards, the “Active Worktype ID” setting will be applied.